Belinder Remodel: Part 2
March 9, 2021
Today I am sharing Part 2 of the Belinder Remodel with you! I am so excited to share the beautiful kitchen and walk-in pantry. Here is proof that you do not have to gut your entire kitchen to get a gorgeous space that functions for you. We were able to save money by using the existing layout and keeping the wood floor. Changing out a few elements to this space lightened it up and made it function more efficiently for this busy family of five.
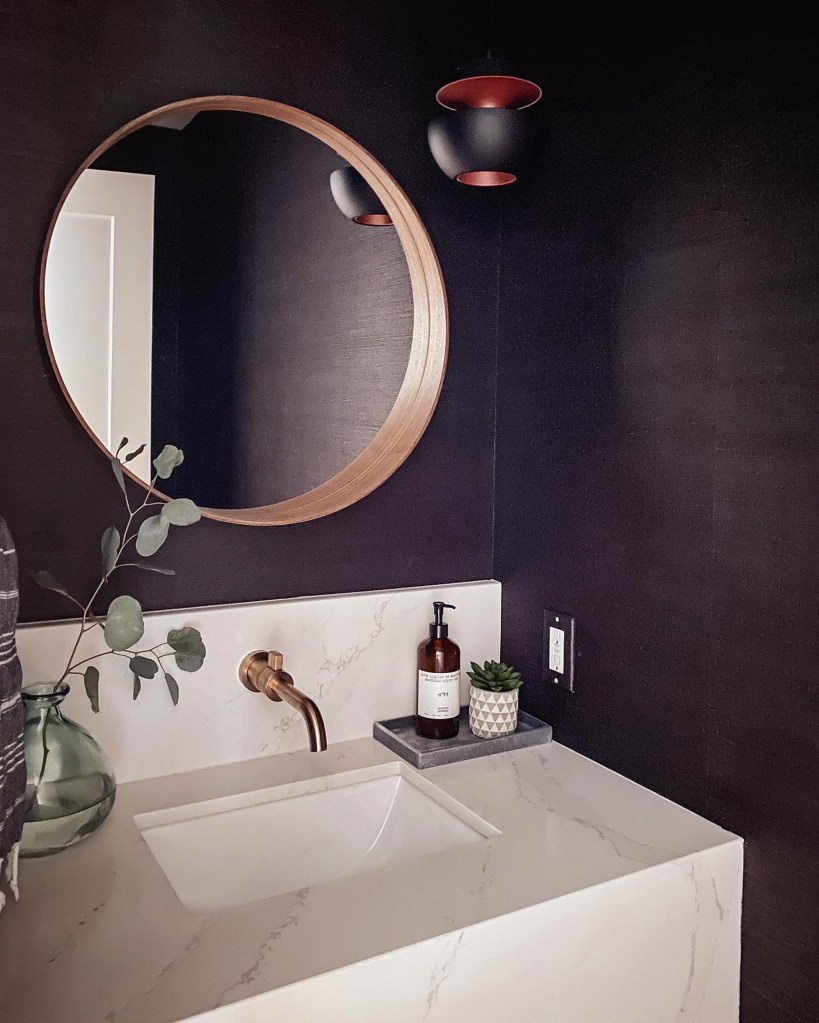
My clients have incredible taste and love Mid Century design. A little over five years ago, they remodeled the existing bedroom and bathroom spaces and also added a master bedroom addition. The kitchen, powder room and one hall bath were not included in the first remodel. In the fall of last year, we finished the two bathrooms in Part 1 of the remodel. I loved taking the challenge of blending these rooms into the style of the rest of the home. Here are some of my favorite photos and details from the kitchen remodel.
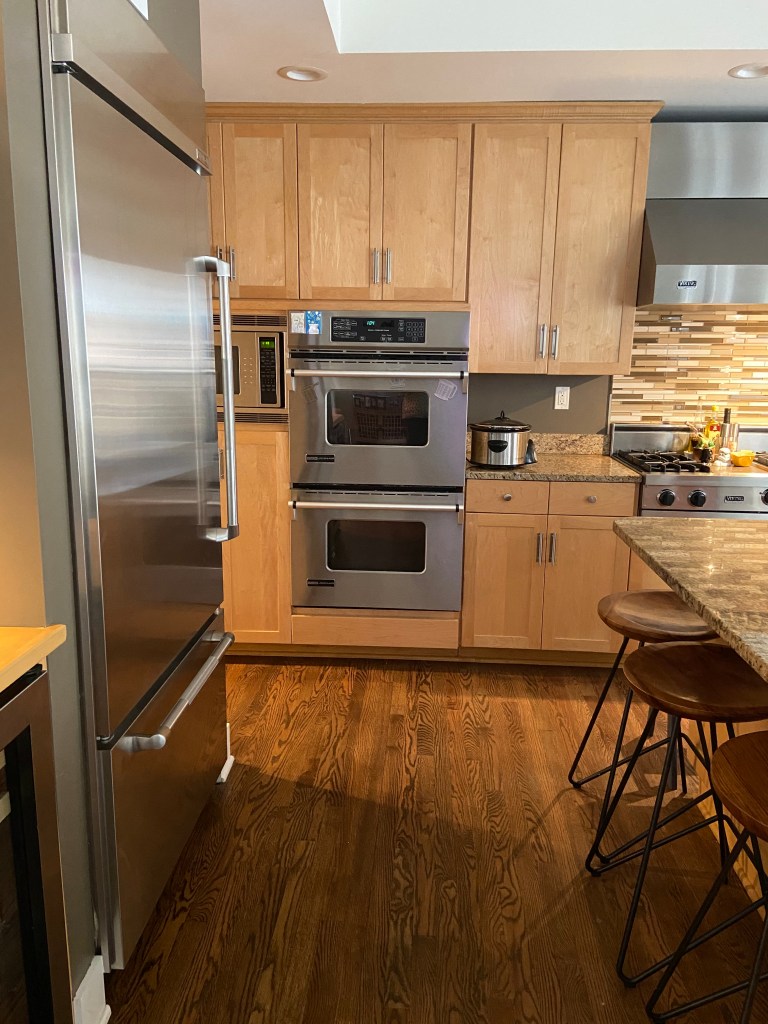
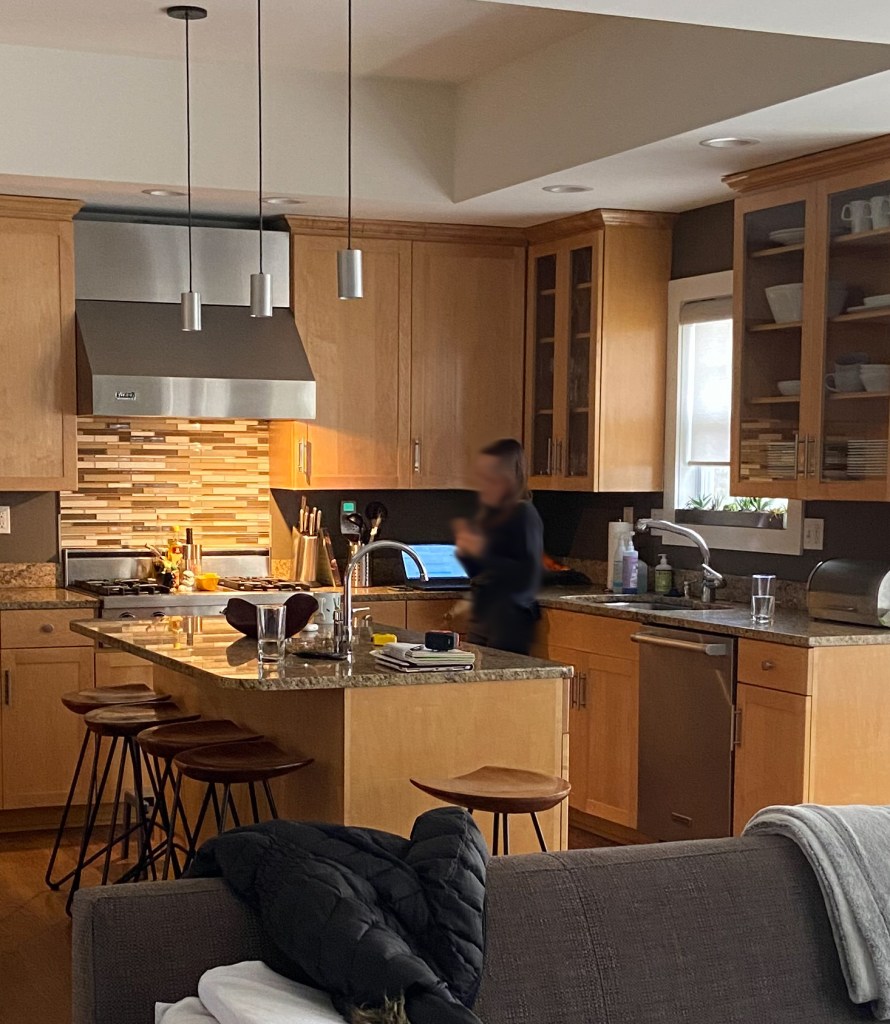
On the wish list was a lighter and more sophisticated space that would function for a family with young children. My clients wanted to get rid of the yellowy orange cabinets and dark countertops to make the kitchen flow with the rest of their Mid Century home. They also needed more island seating and usable countertop work space.
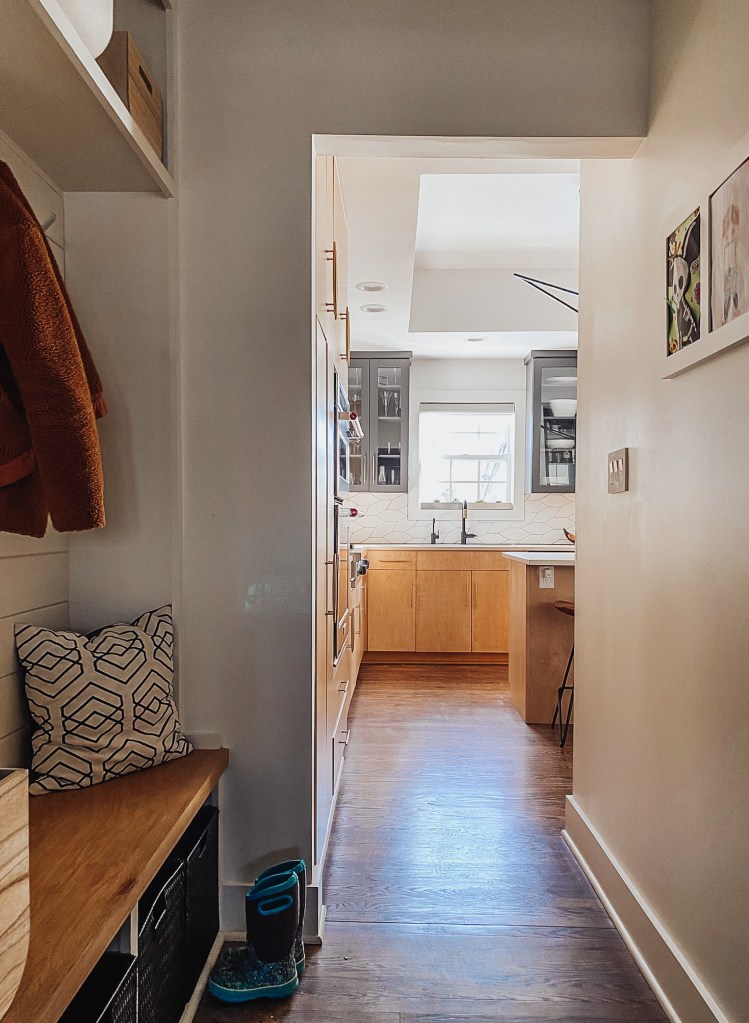
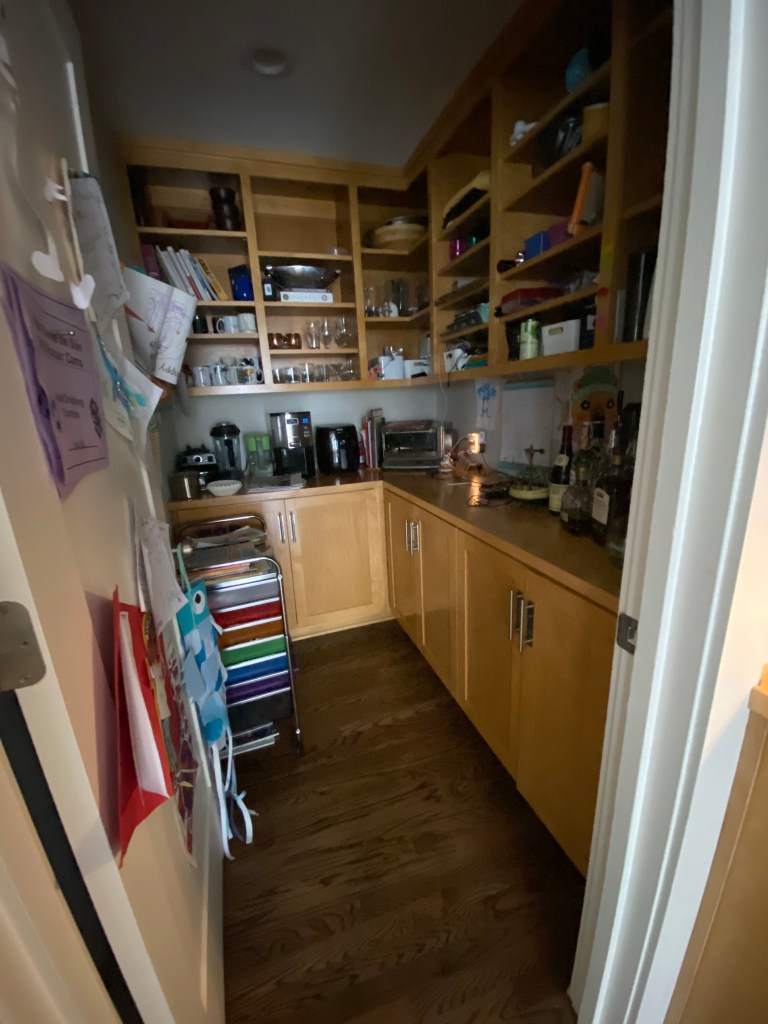
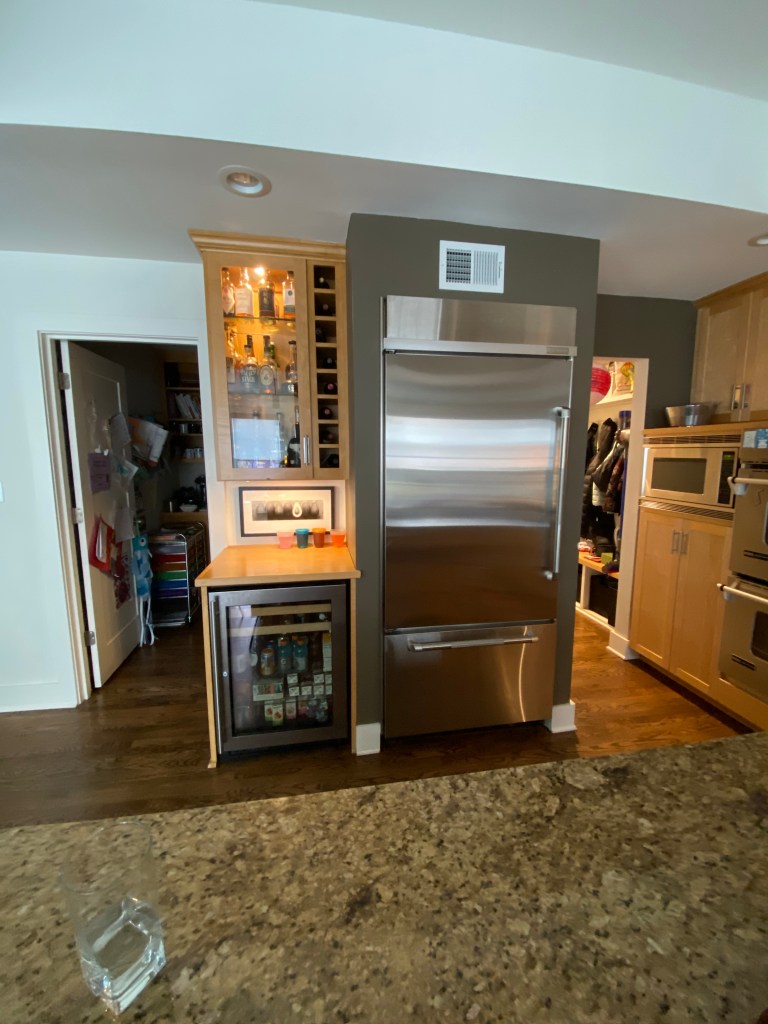
By getting rid of some of the upper cabinets and adding some open shelving we could really open up the large stove wall without sacrificing too much cabinet square footage. Plus they had an amazing panty space that they were not using to it’s full potential that could be utilized. We met with a custom cabinet builder and we developed a plan for removing some of the upper cabinets and then building a new island and sleek flat fronts for all of the cabinets.
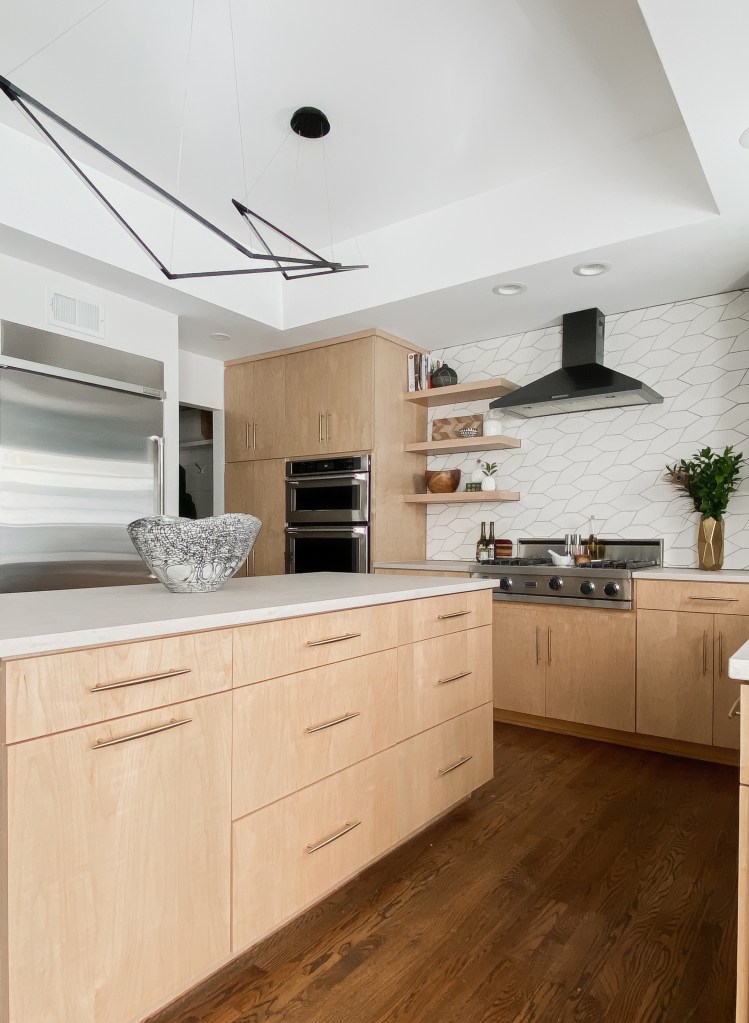
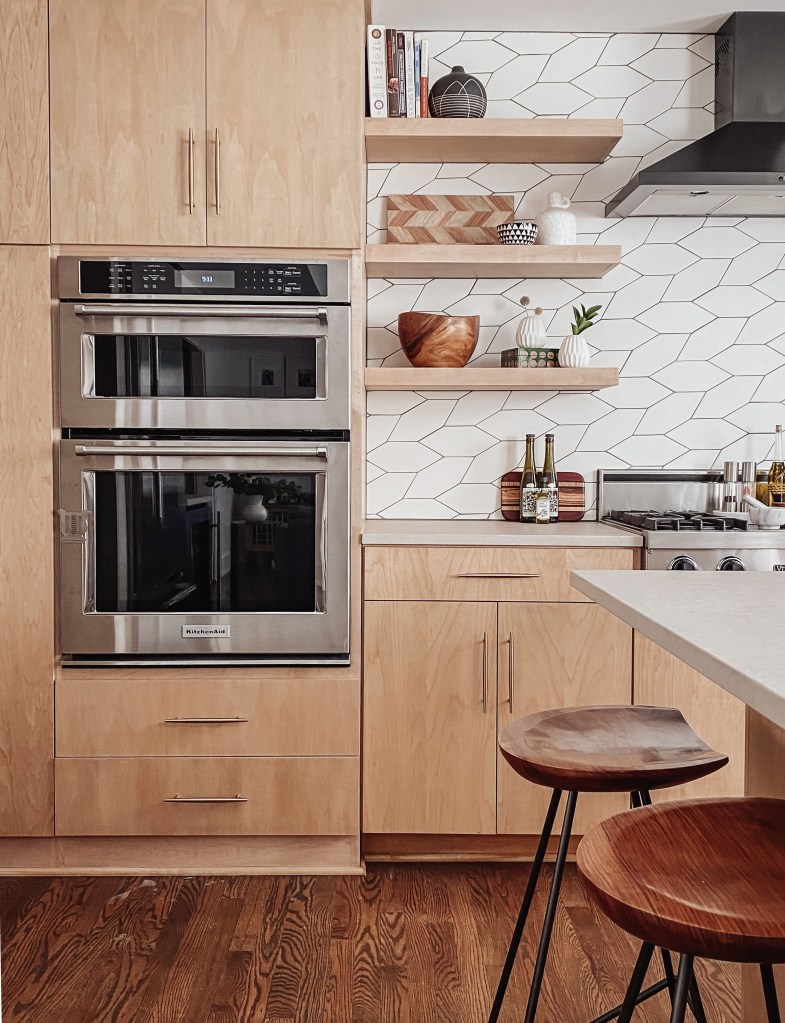
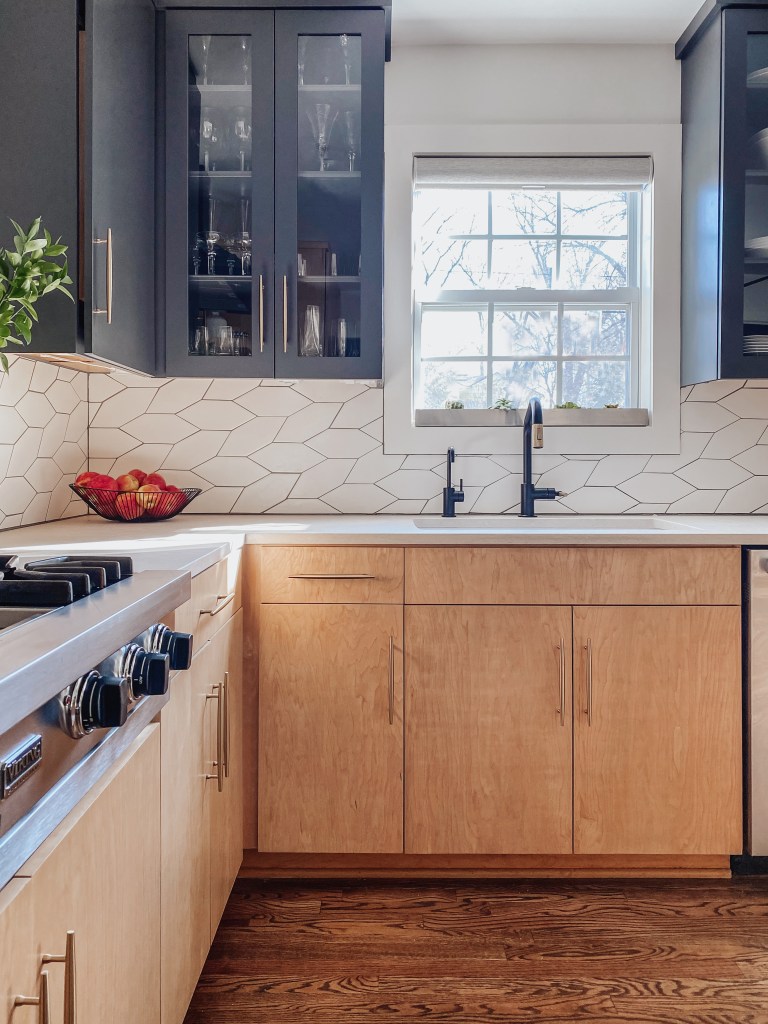
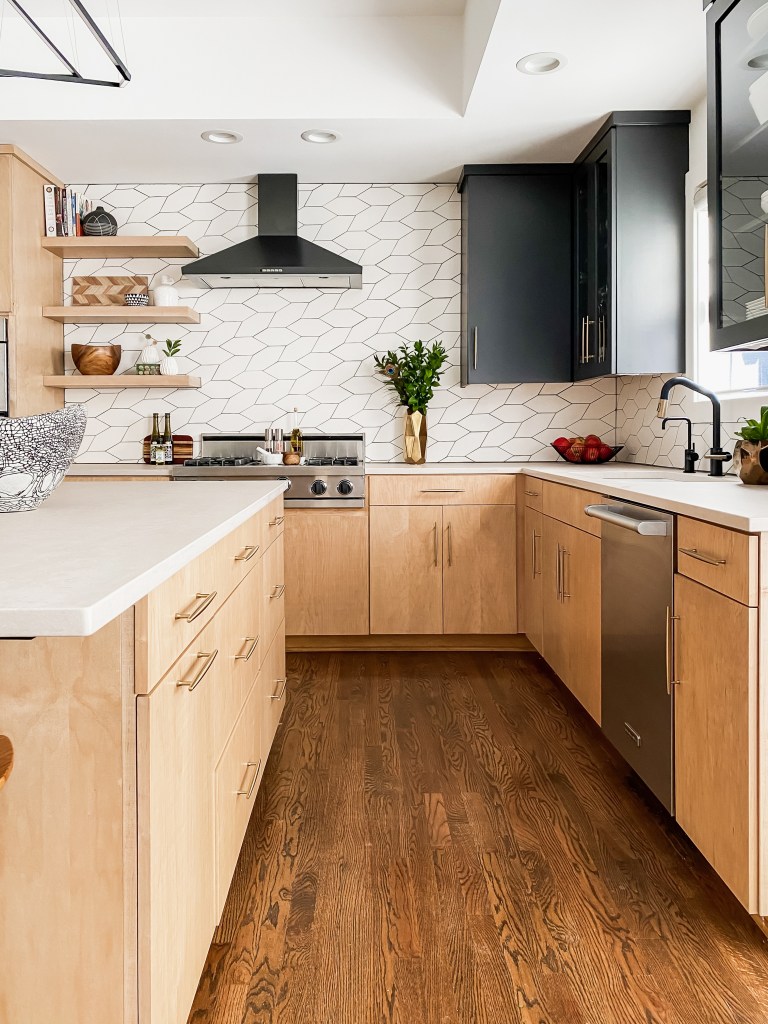
Our plan for removing some of the upper cabinets also involved rethinking the oven wall. It proved to be the game changer as it had major impact. Before it was an odd configuration of cabinets that jutted out with hard to use cabinets that set back further up above. This also created an unusable ledge. The client purchased new ovens and we designed a new oven cabinet wall that was flush all the way to the ceiling drawing the eye up. The open shelving created visual interest further accented by the beautiful picket tile from Pratt and Larson that we carried all the way up to the ceiling. We also replaced the heavy low oven hood with a new sleeker model.
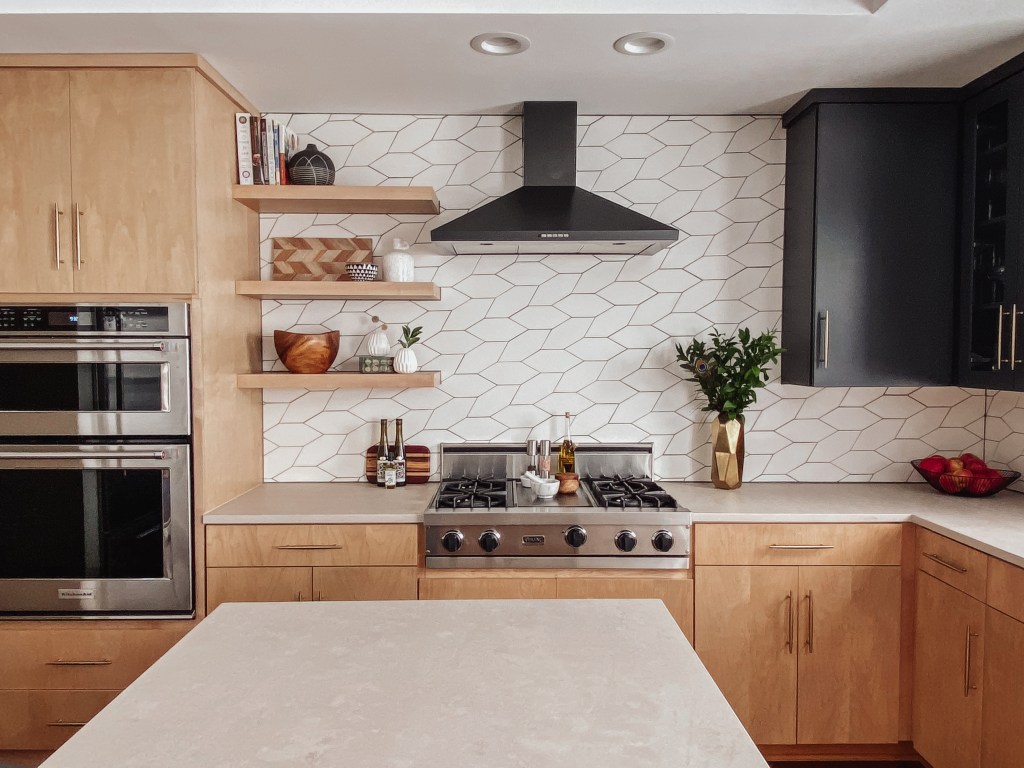
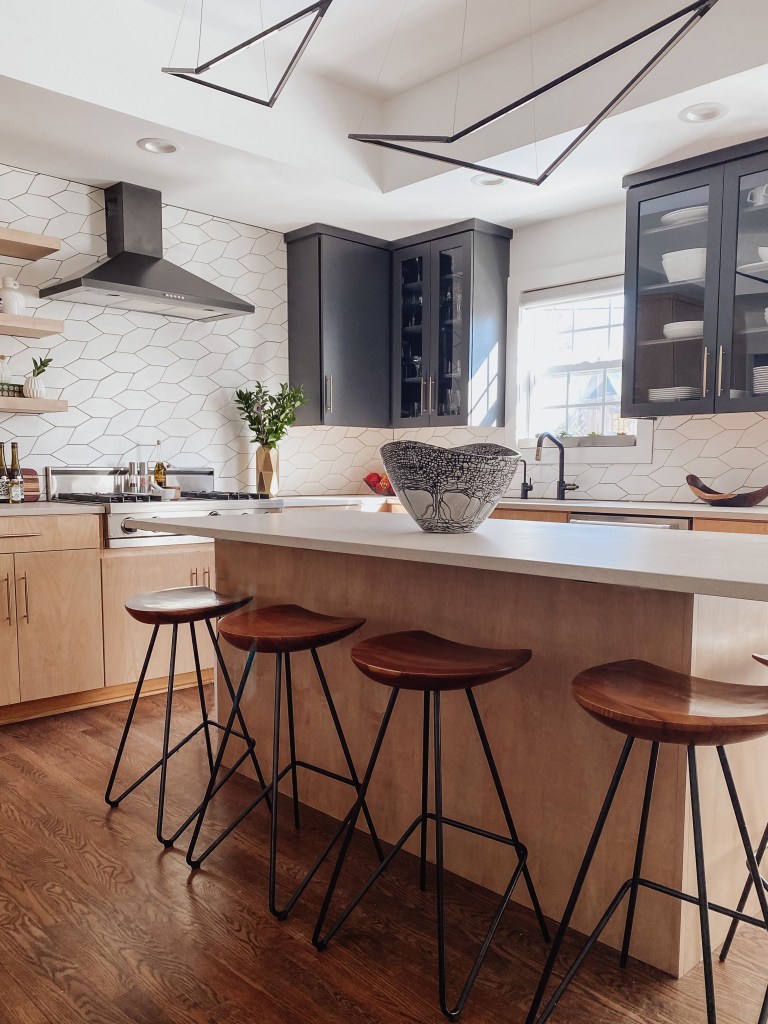
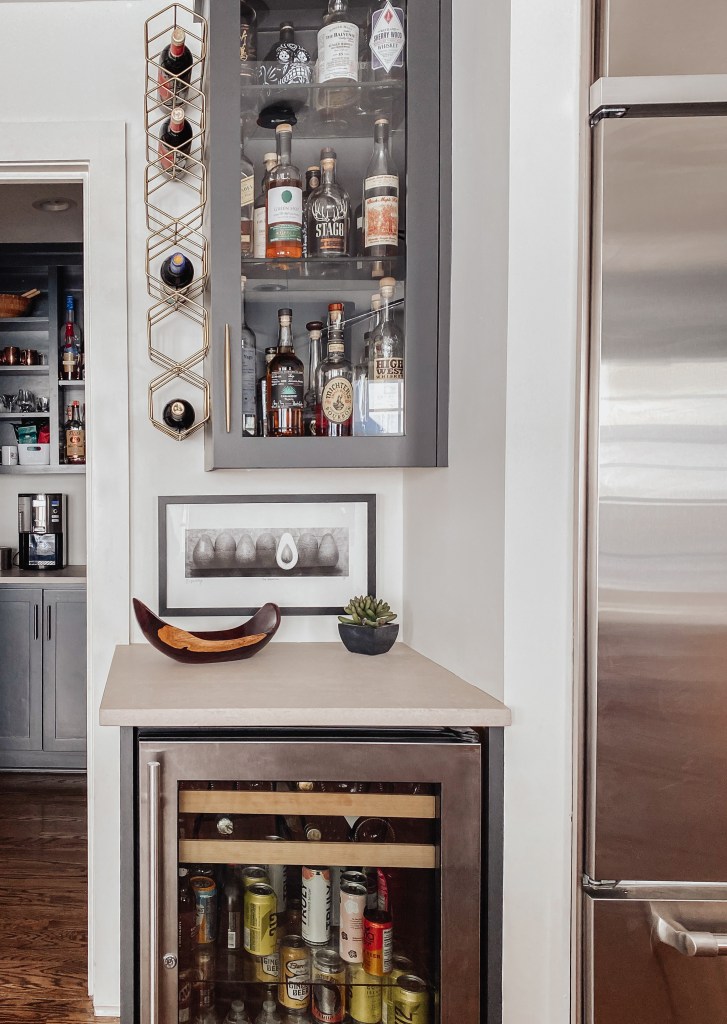
Final touches included painting some of the upper cabinets dark while keeping the lower cabinets light. This provided a dramatic contrast against the white backsplash and new Caesarstone quartz countertops. The dark painted cabinets were also carried into the walk in pantry. New matte black and brass faucets from Brizo add an elegance to the sink area. The brushed brass cabinet hardware combined with the stunning Z-Bar Bird island pendants designed by Kenneth Ng and Edmond Ng my clients found brought everything together beautifully.

The difference in this kitchen is amazing and beautiful. It’s clean lines and simple wood elements make the space feel organic and easy. It’s unbelievable what opening up a wall of cabinetry can do to make a room feel larger. You really can have a gorgeous kitchen without gutting the entire room if you are willing to think outside the box. I hope this awesome family enjoys their new kitchen for many, many years!
Thanks for following along here!
xo -Lindsay

Hi! I love this kitchen remodel. Everything came together so well. I’m using it as inspiration for my remodel and have a few questions (if you wouldn’t mind sharing)… What paint color did you use for the dark accented top cabinets? Also, do you remember the name of the Caesarstone countertop you used? I’m meeting with my cabinet maker and trying to figure out which stain I should use for the rest of the cabinets. I’ve been going back and forth, trying to decide if I should paint all the cabinets one color, but this remodel really gave me the inspiration to mix the wood stained look with the painted cabinets. Thanks a bunch! 🙂
LikeLike
Hi, thanks for your kind words. The painted cabinets are SW Iron Ore. The Caesarstone is Cloudburst.
LikeLike