Modern Ranch Reno: Master Suite & Kids Bath
November 9, 2021
Today, I am taking you through the renovations of the first floor of the Modern Ranch project. This renovation gave my clients a stunning Master Suite and a functional full bathroom for their boys. The existing main level of the ranch home had four small bedrooms and two full bathrooms. The Master Bedroom was the largest bedroom but still rather tight for a Master Suite. It’s bathroom was tiny, dark and dated. There was also little closet space for two people to share.
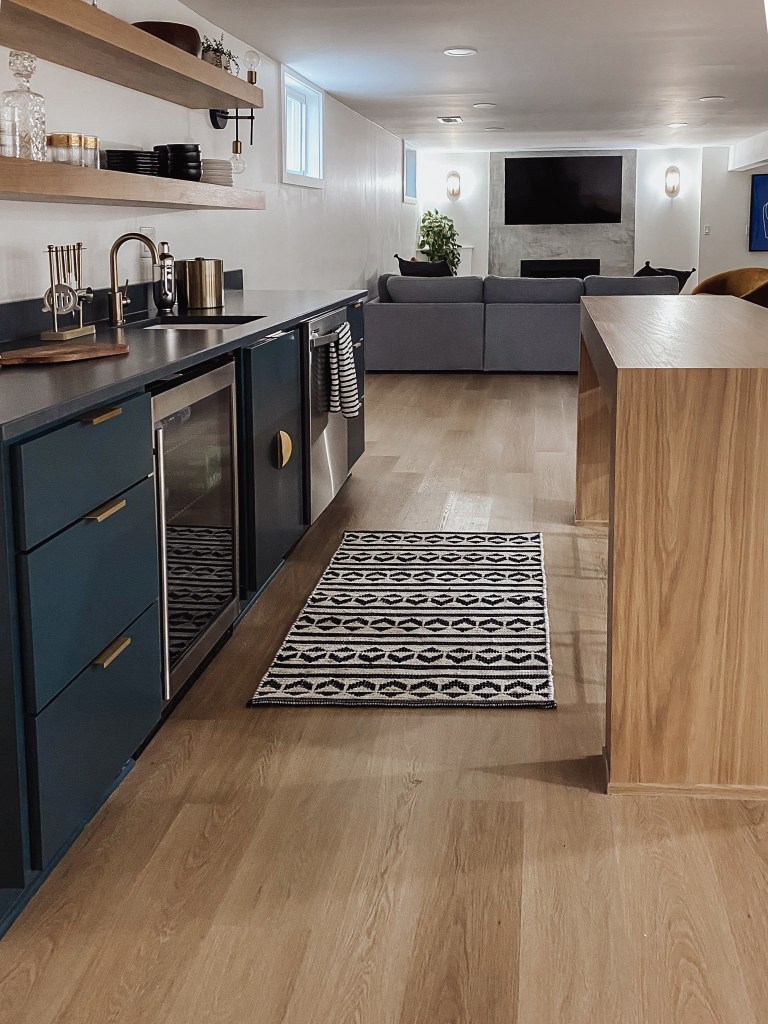
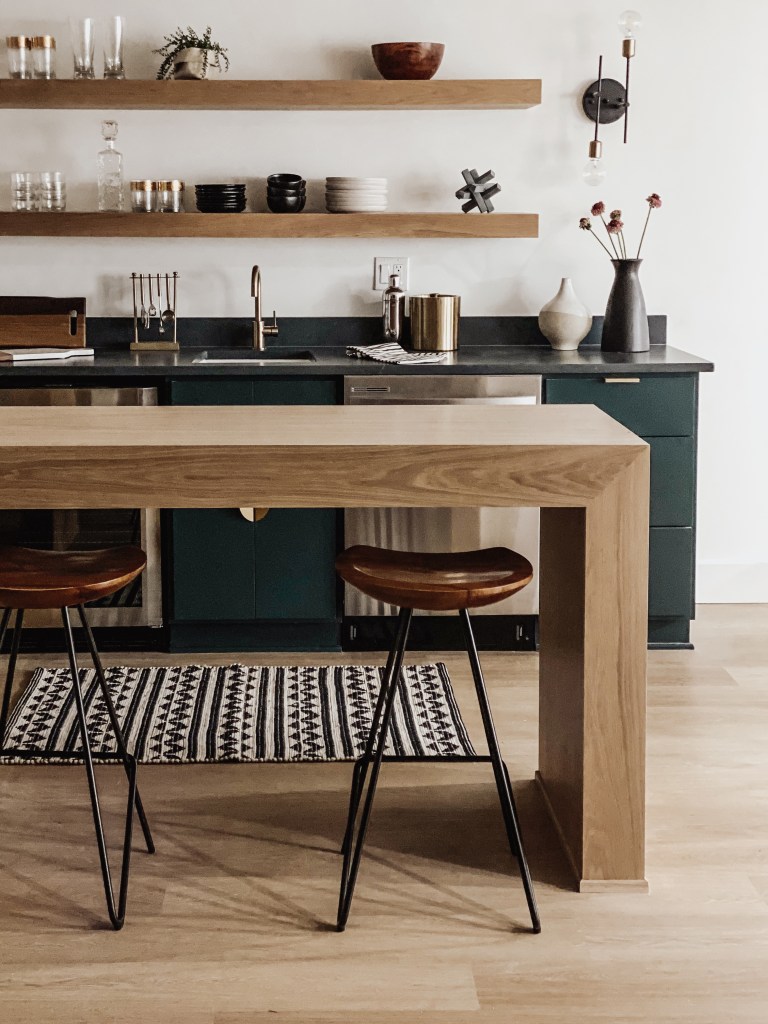
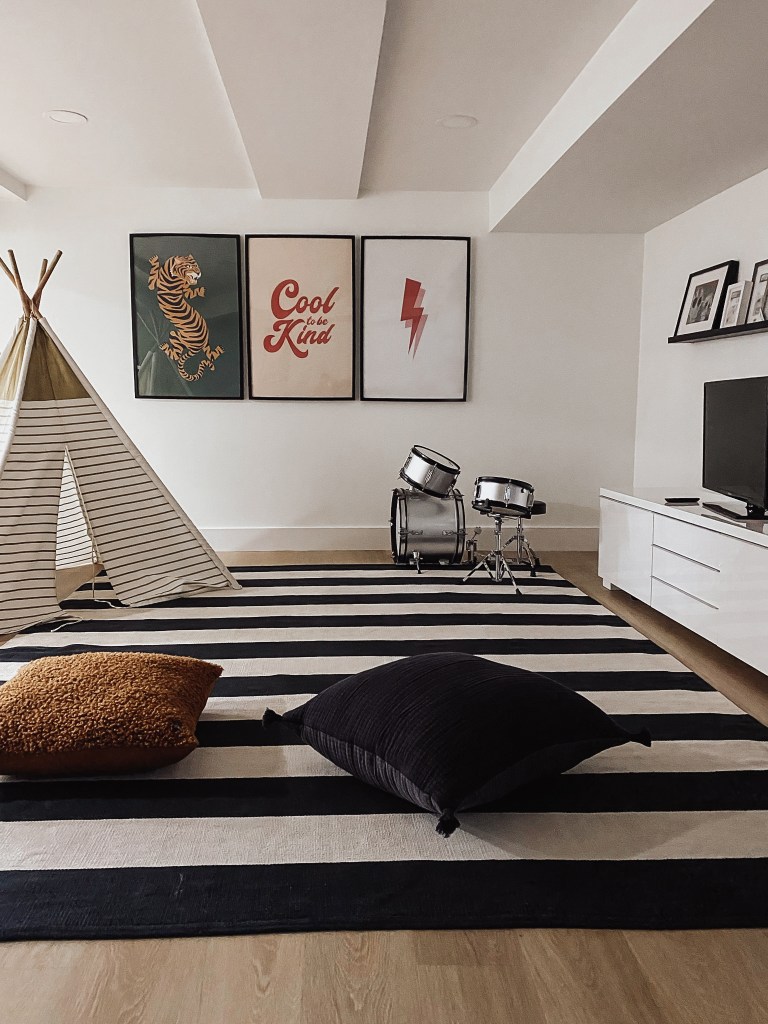
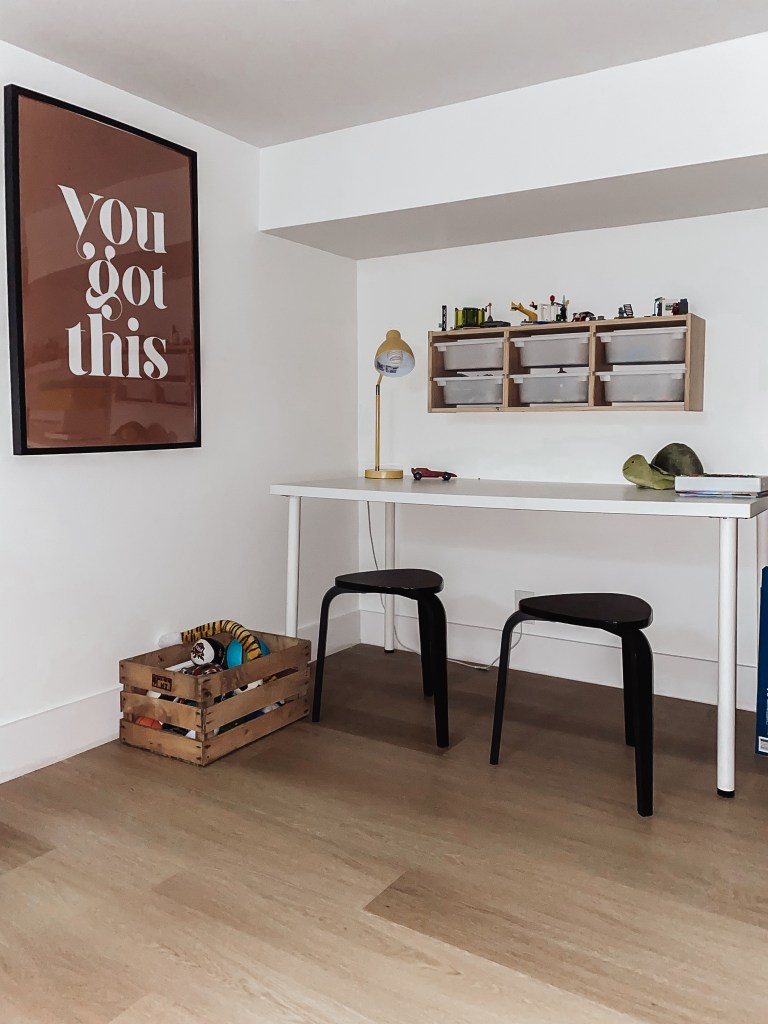
I am so thrilled to show you how we used the existing footprint of their home to accomplish all the things this young family needs. By reconfiguring existing space on both levels, we doubled the square footage of their home and also gave them smart updated spaces that function for their modern family! Read on to see more details about the main floor renovations. You can also read all about the basement renovation part of the project here.
When we designed the new basement space in phase 1 of the project, we gained two additional bedrooms and another full bathroom. I knew we could combine two of the bedrooms on the main level to make a true Master Suite without losing space and increase the home’s market value. We also updated the other full bath on the main floor for their three boys giving them a space that would grow with them.
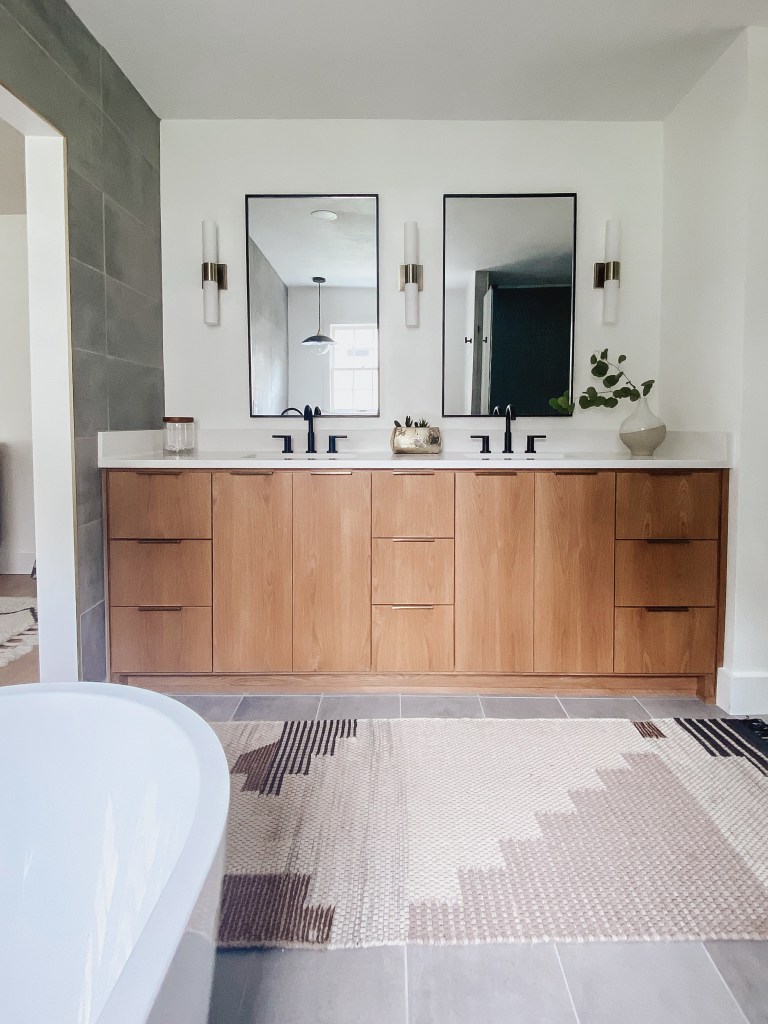
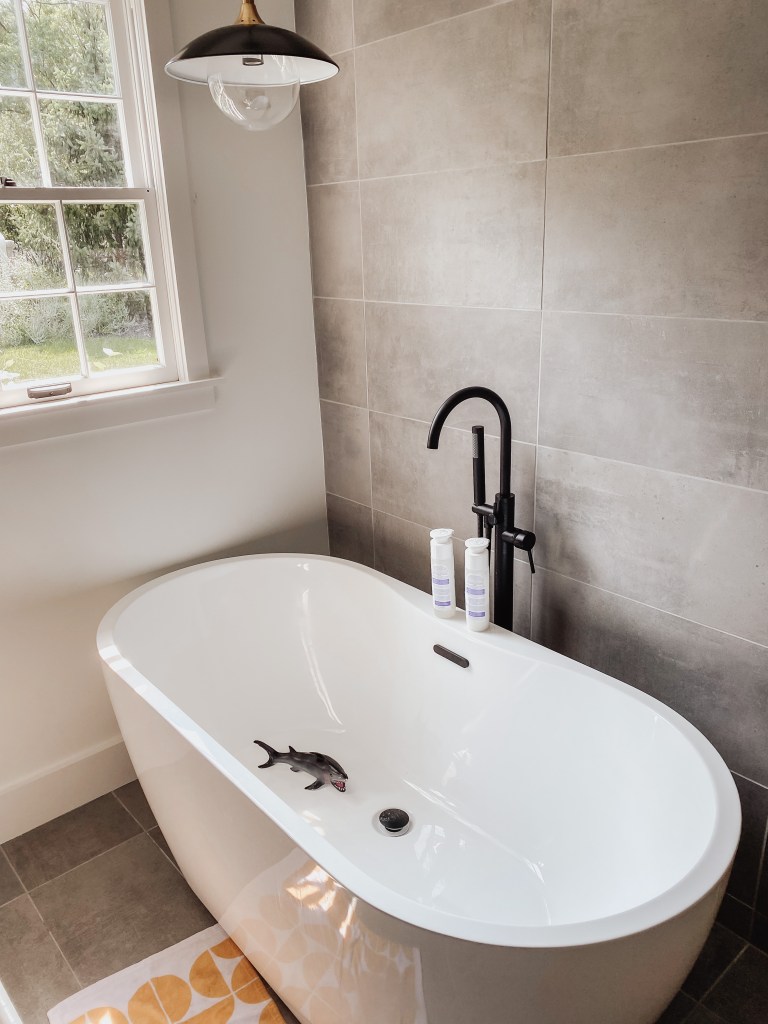
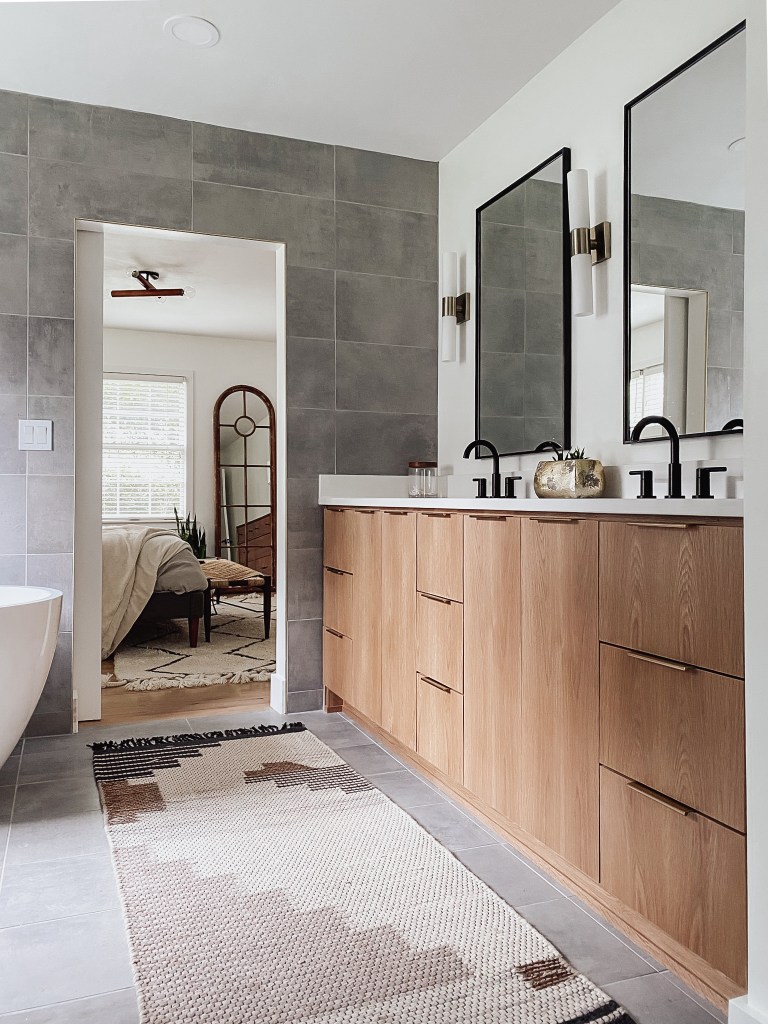
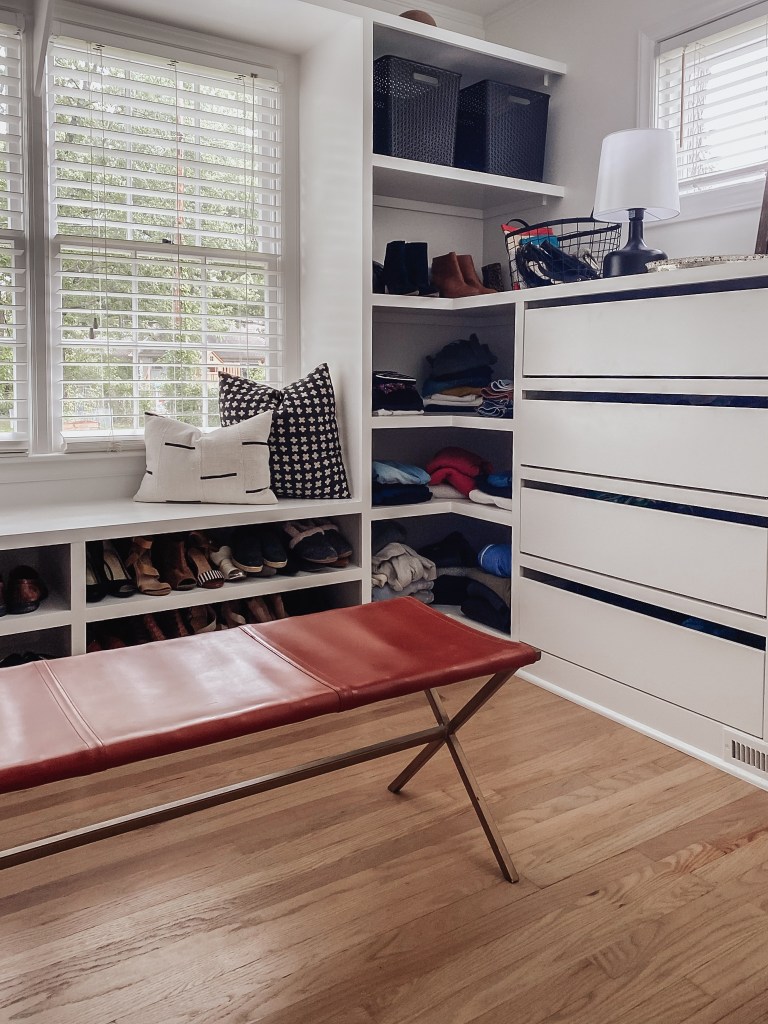
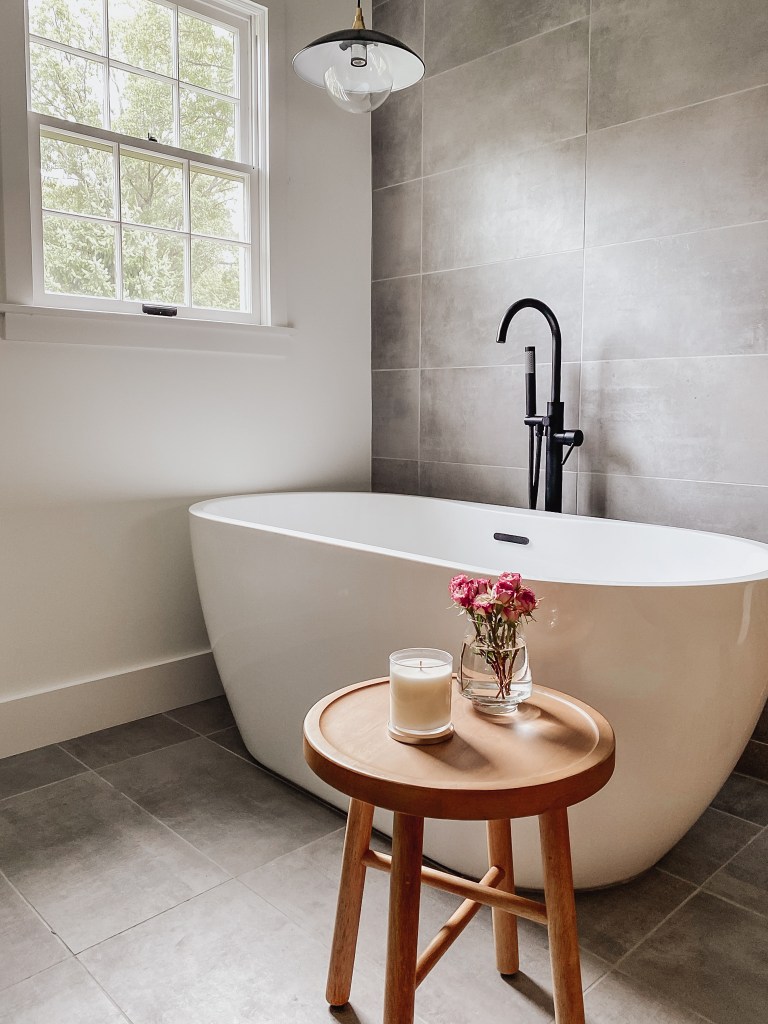
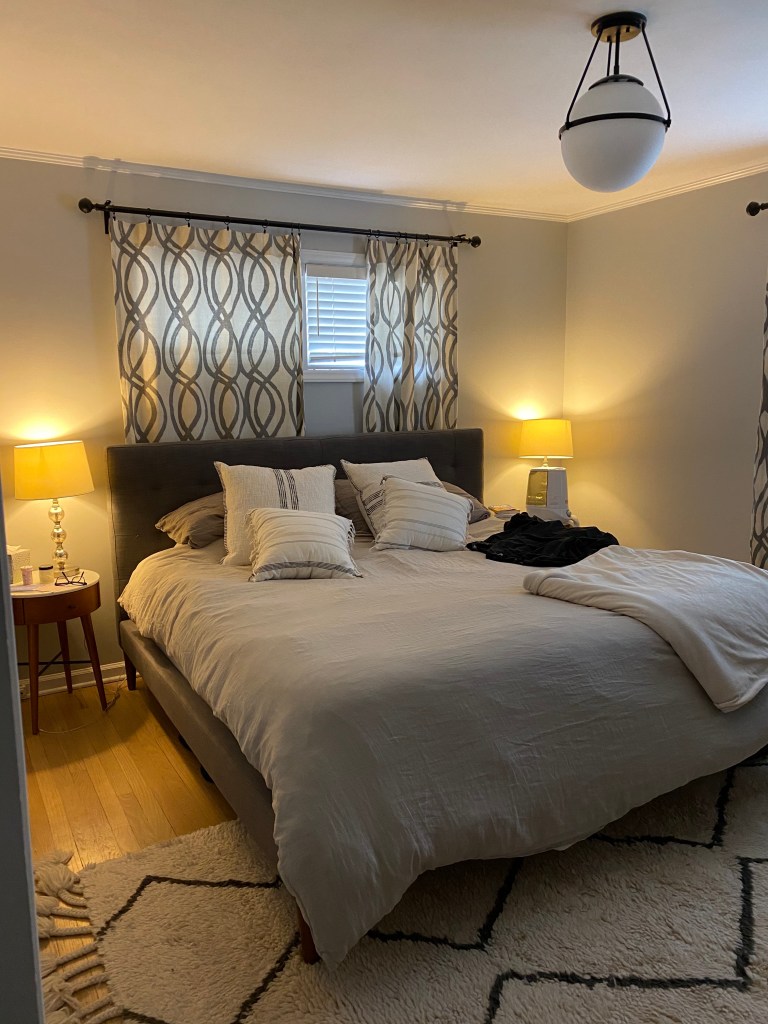
We carried the Mid Century design influence into the design of the Master Suite focusing on creating a modern yet relaxing private space. At the top of my client’s wish list was a double vanity, a large shower and a walk in closet with lots of storage. This busy Mom of three also really wanted a free standing soaker tub and we found the space to make it happen.
We had to sacrifice a pretty cute little baby room to become the new walk in closet but the end result was worth it. Thankfully, the little guy was also super excited about joining his older brother in a room with bunk beds! The Master bedroom was expanded almost two feet by taking some of the existing closet and old bathroom space. We also stole square footage from the existing baby room and it’s closet to gain room for the larger bathroom.
By using all of the existing hardwood floors in the baby room turned closet and the Master we saved a large amount of money and limited waste in the landfill. We recycled some of the flooring from the baby room and interlaced it in the Master where we gained our 2 square feet from the previous closet space and the footprint of the old bathroom.

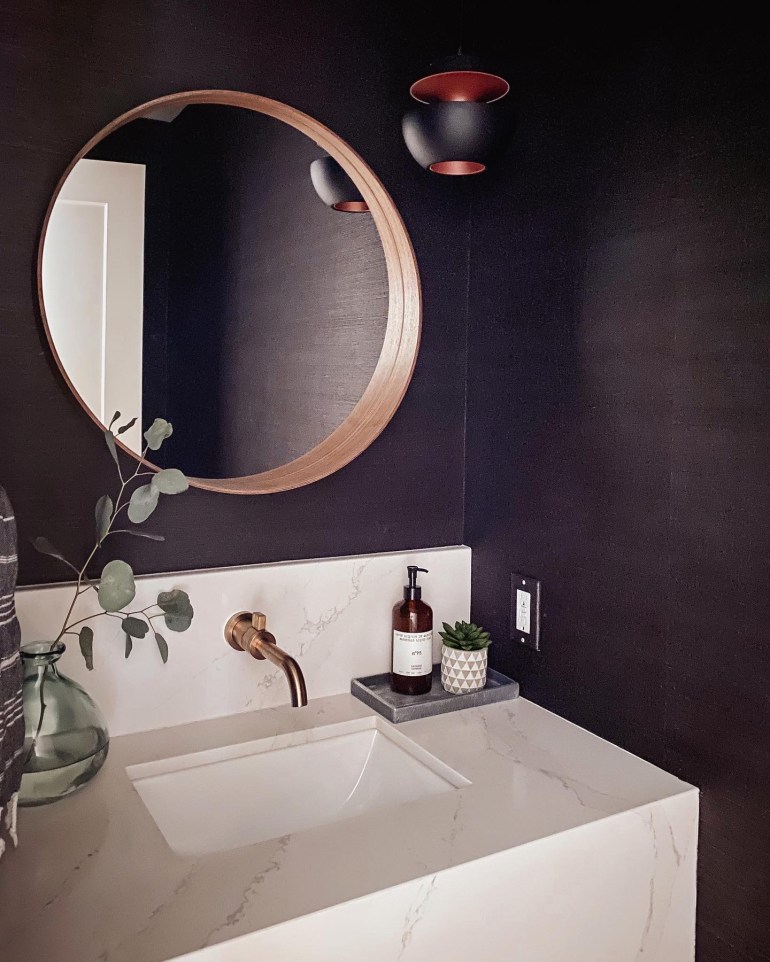
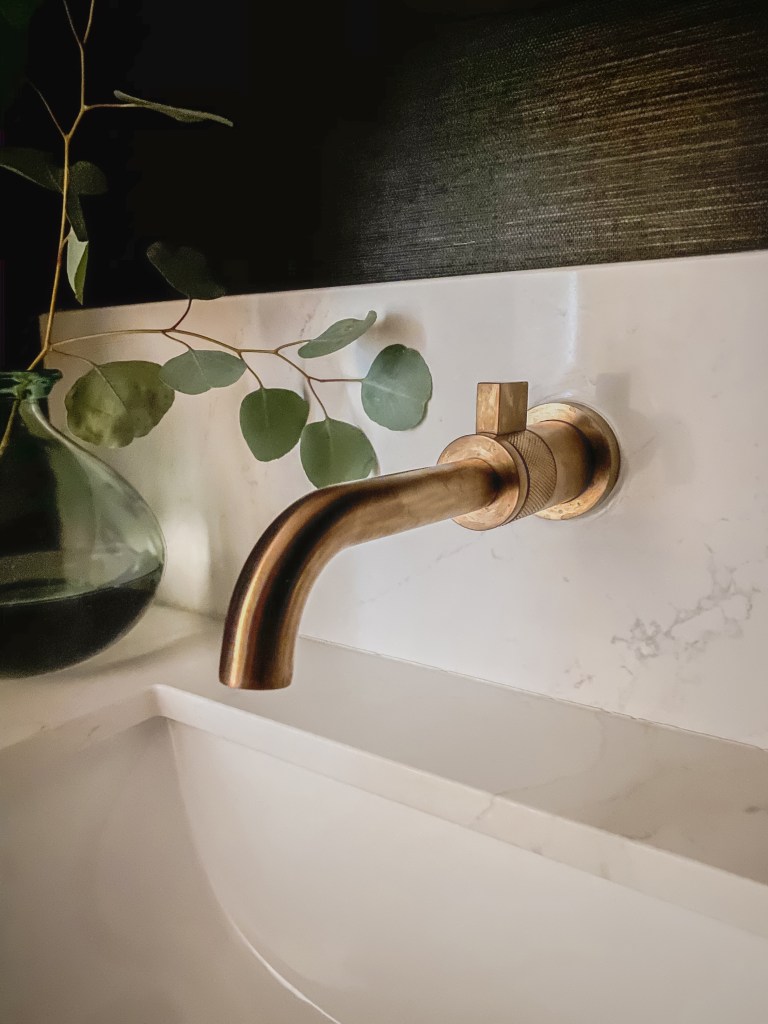
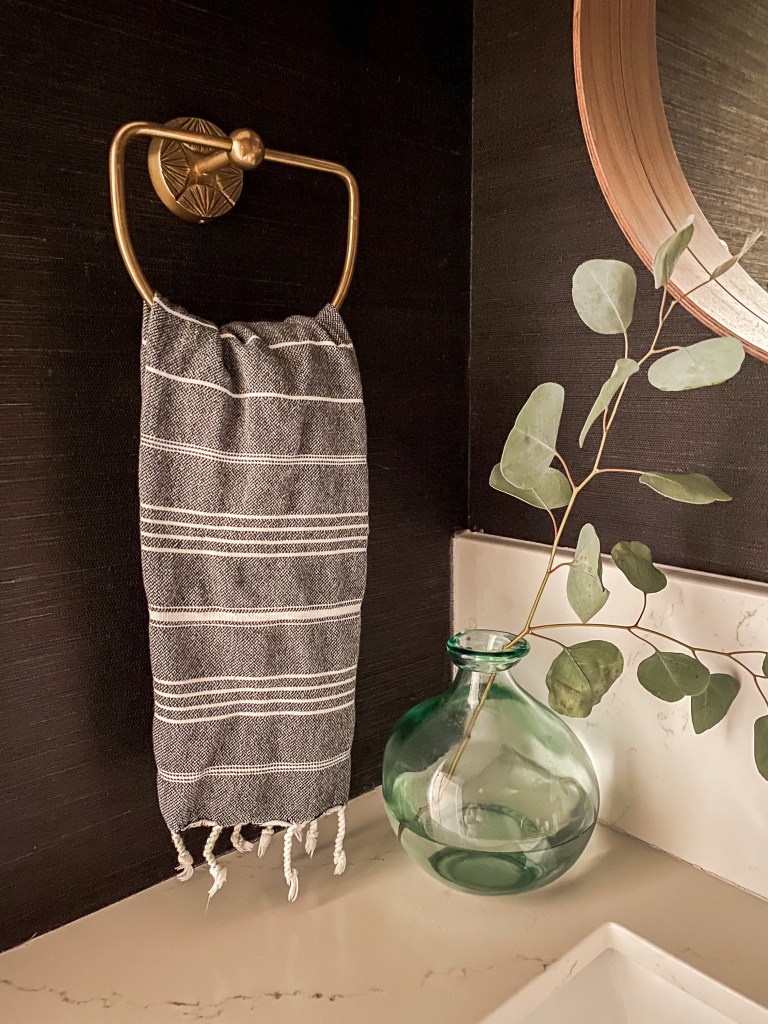
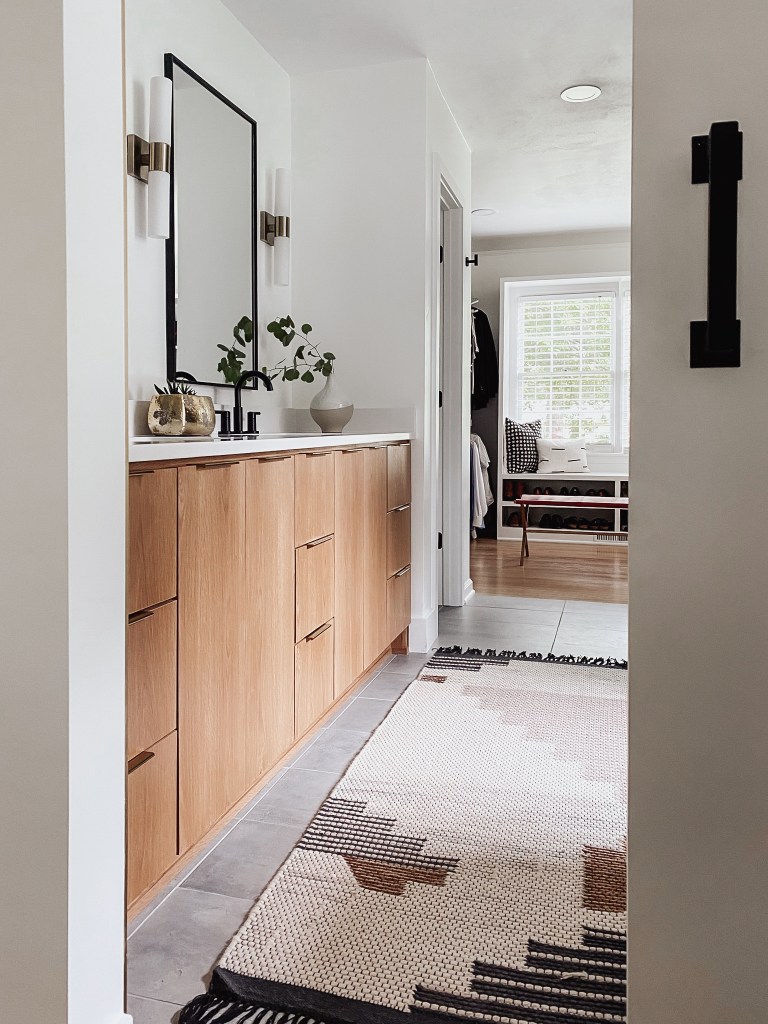
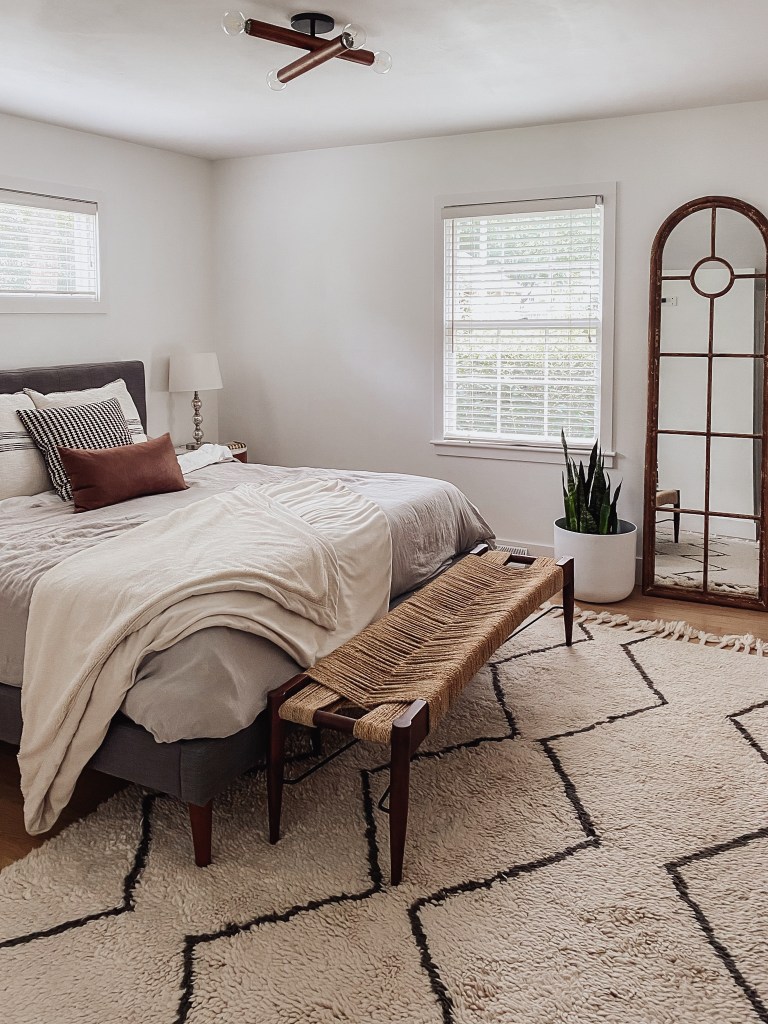
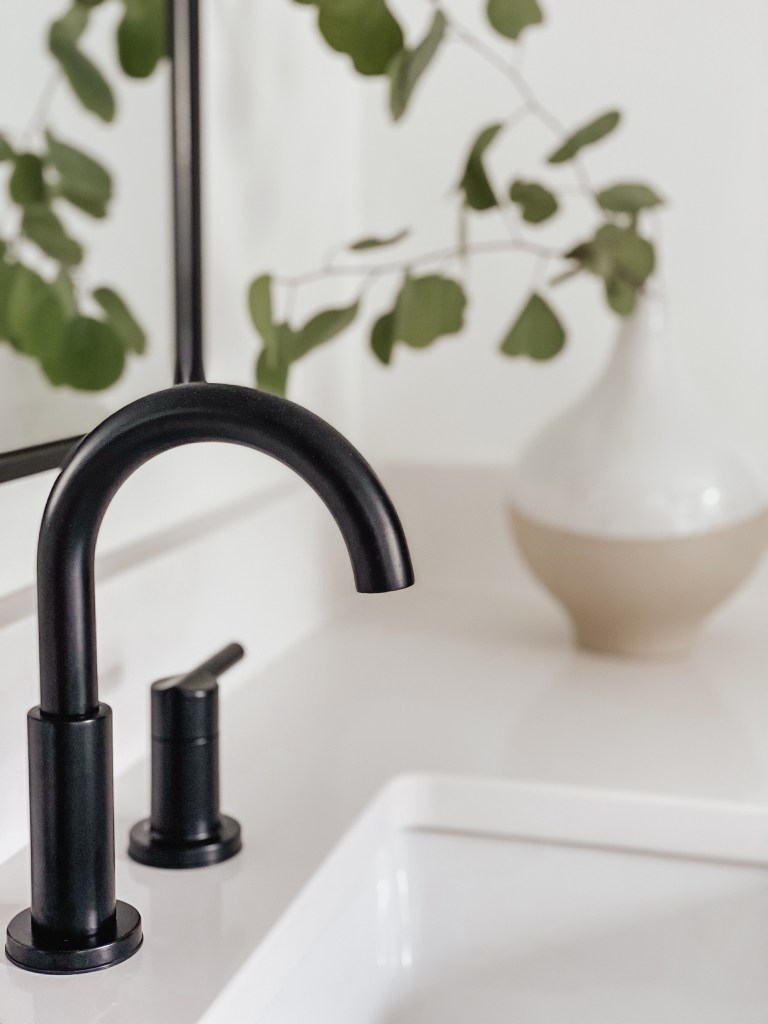
The details of the project really came together to make the space feel private and timeless. The custom white oak vanity provides much needed storage. We chose a beautiful yet simple white quartz for the countertop from Rock Tops. The large floor tile and contrasting matte black fixtures and shower tile look so bold against them. The brass sconces and cabinet hardware add a layer of elegance to everything. A new walnut and matte black sconce from added a statement to the Master Bedroom. The locking barn door to the bathroom can be closed for privacy or left open to let in the natural light across the entire suite.

I love this beautiful bathtub space by the window we were able to give this deserving Mom. We ran the floor tile up the wall to create a seamless design that is also waterproof.
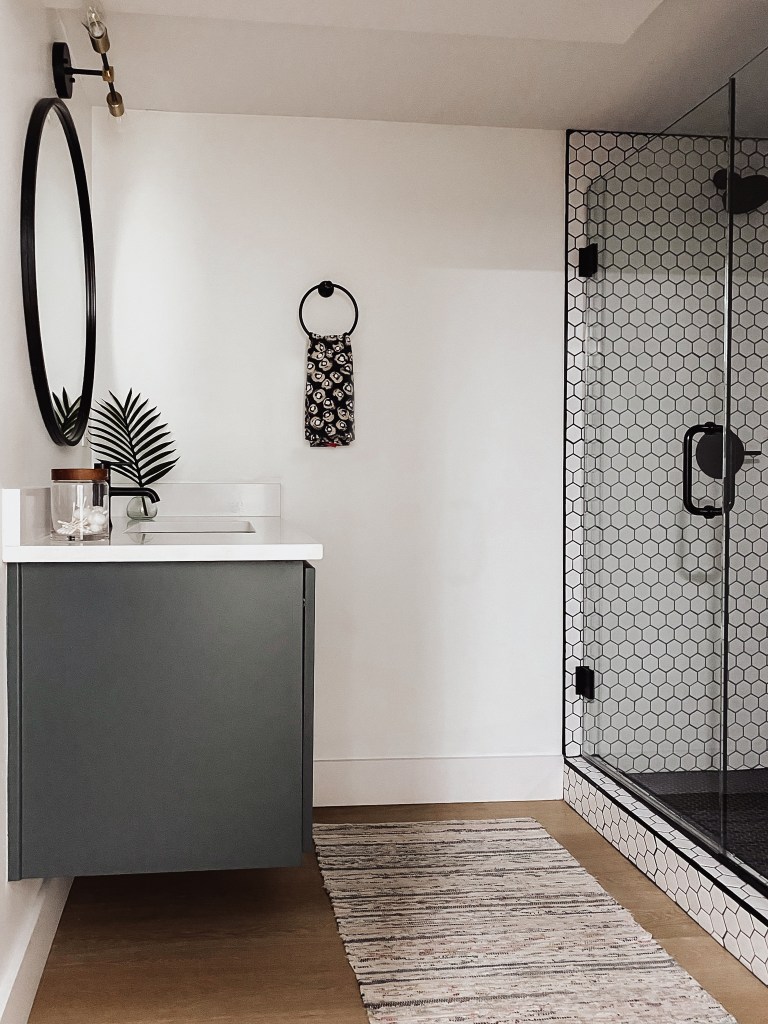
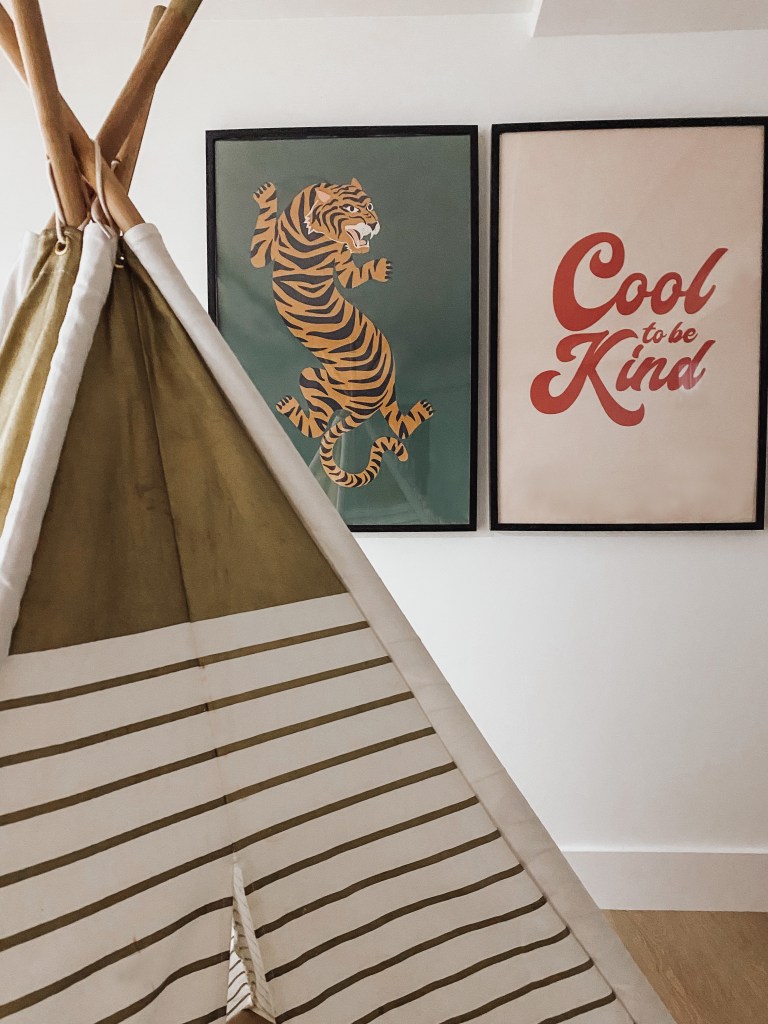
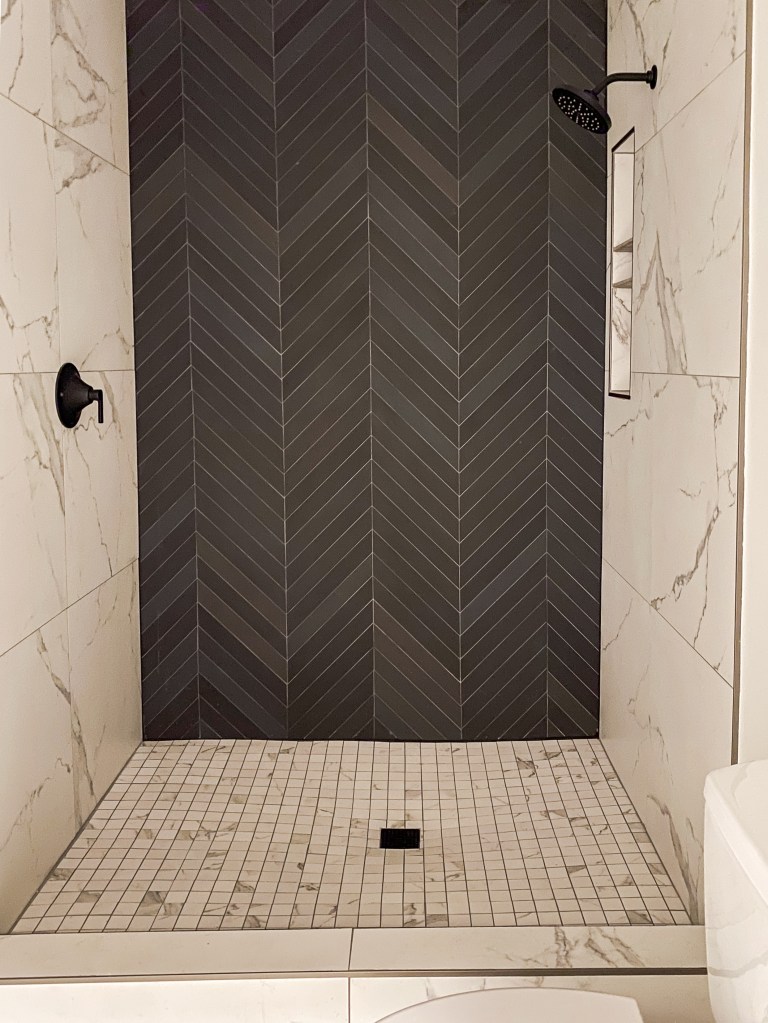
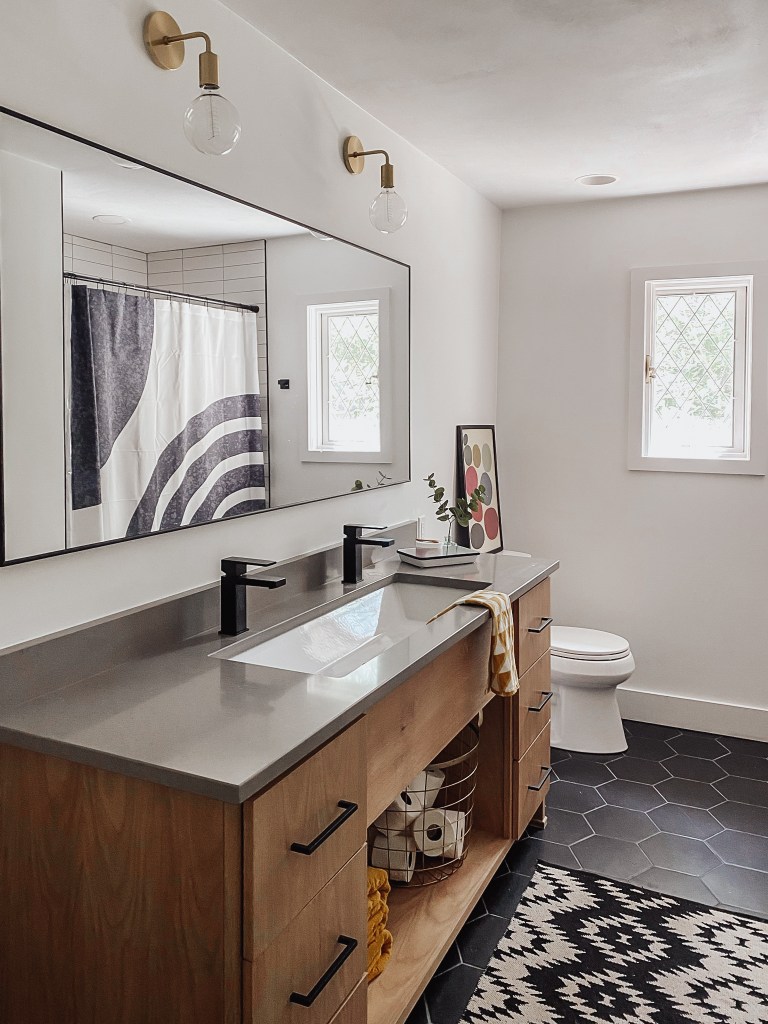
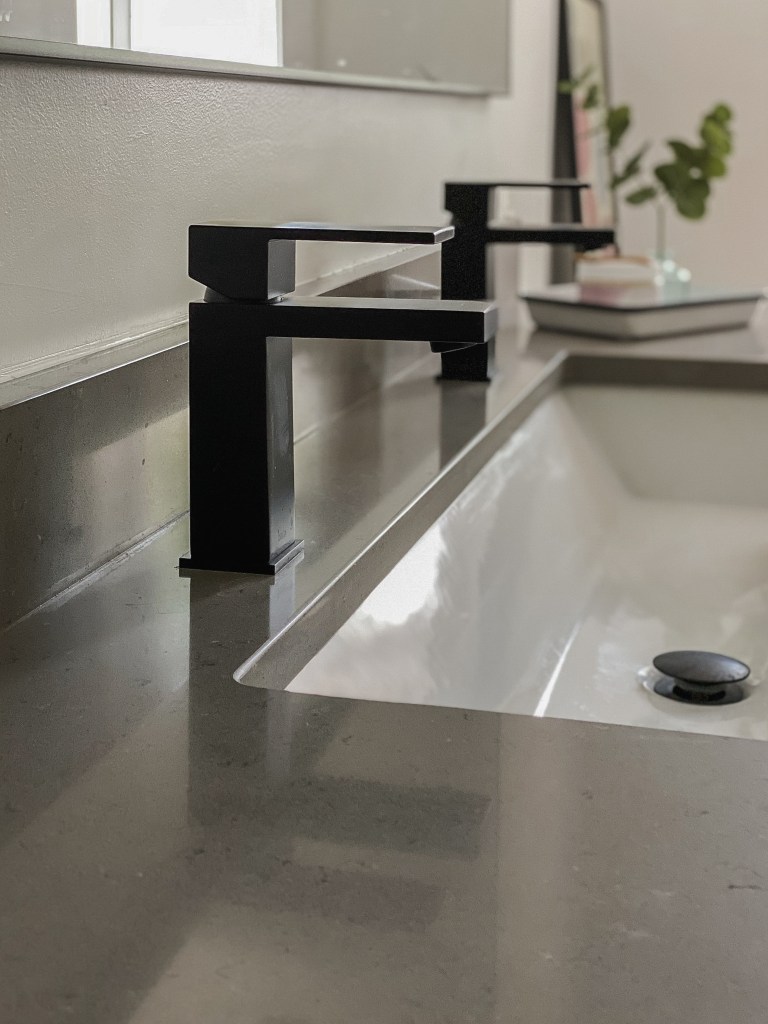
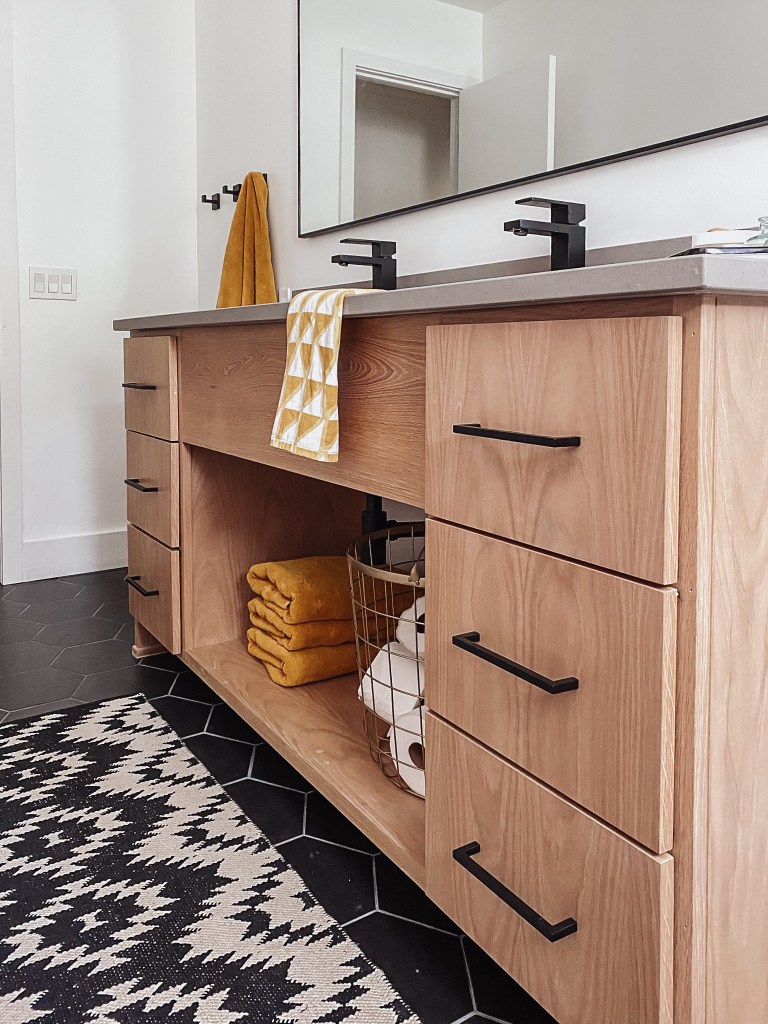
Giving a facelift to the hall bath for the boys was also a big priority. They needed storage and a hardworking place where they could all be at once. The modern undermount trough style sink from Scarabeo with two single faucets makes it easier for sharing. The custom white oak vanity allows for both drawer and open storage and needed counterspace. The sleek fossil gray quartz from Rock Tops gives the vanity a concrete industrial look. We also added new black matte hex tile and fresh stacked white subway tile in the shower to freshen it up. A new large mirror topped with brass globe sconces really made the whole bathroom come together.
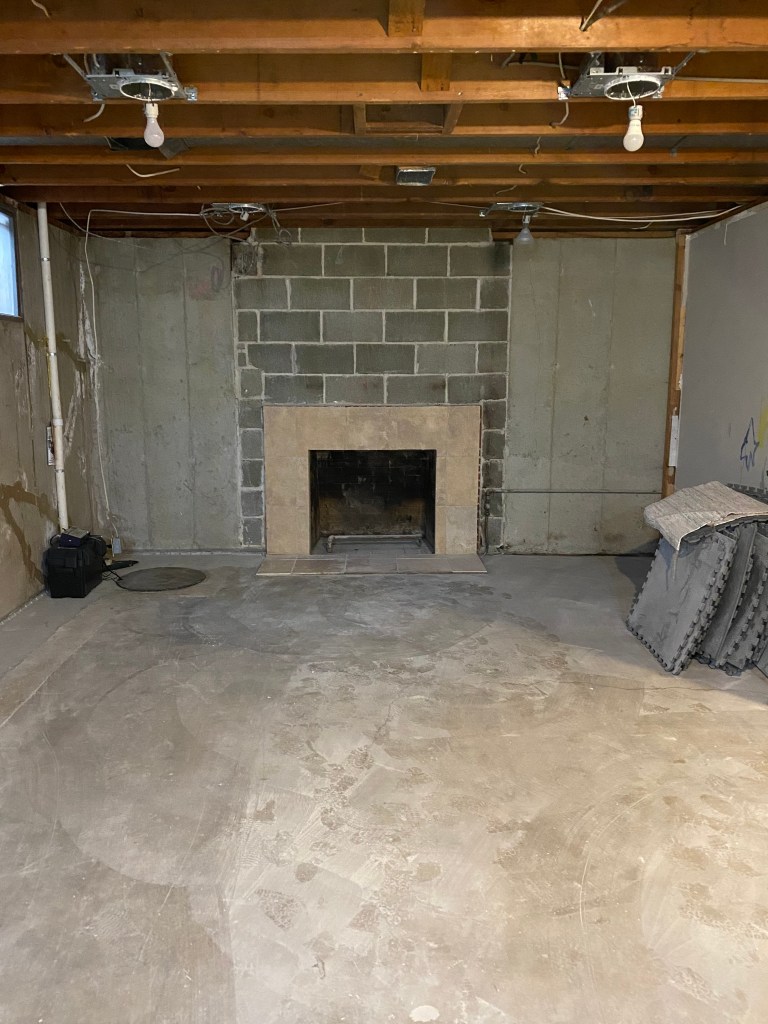
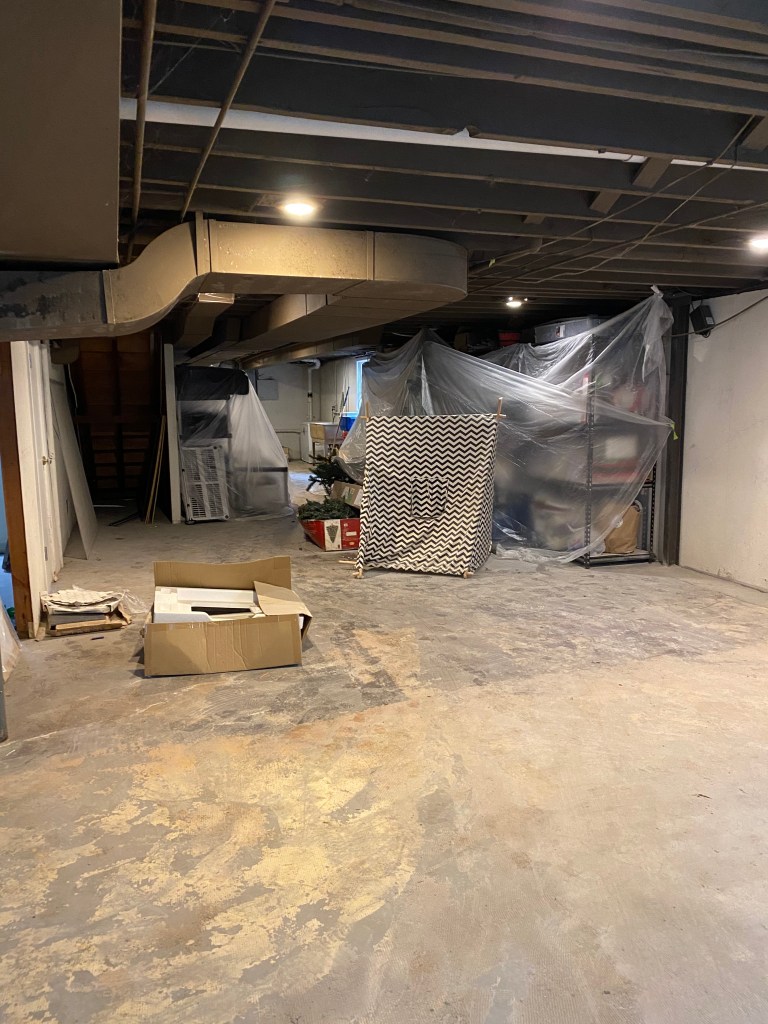
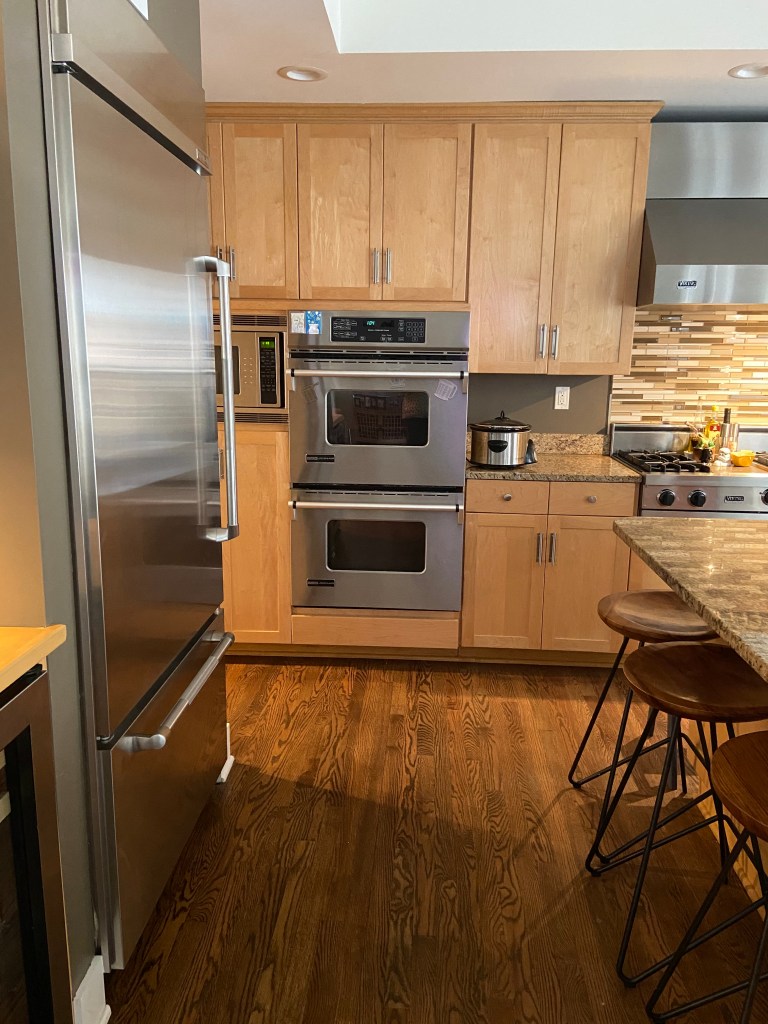
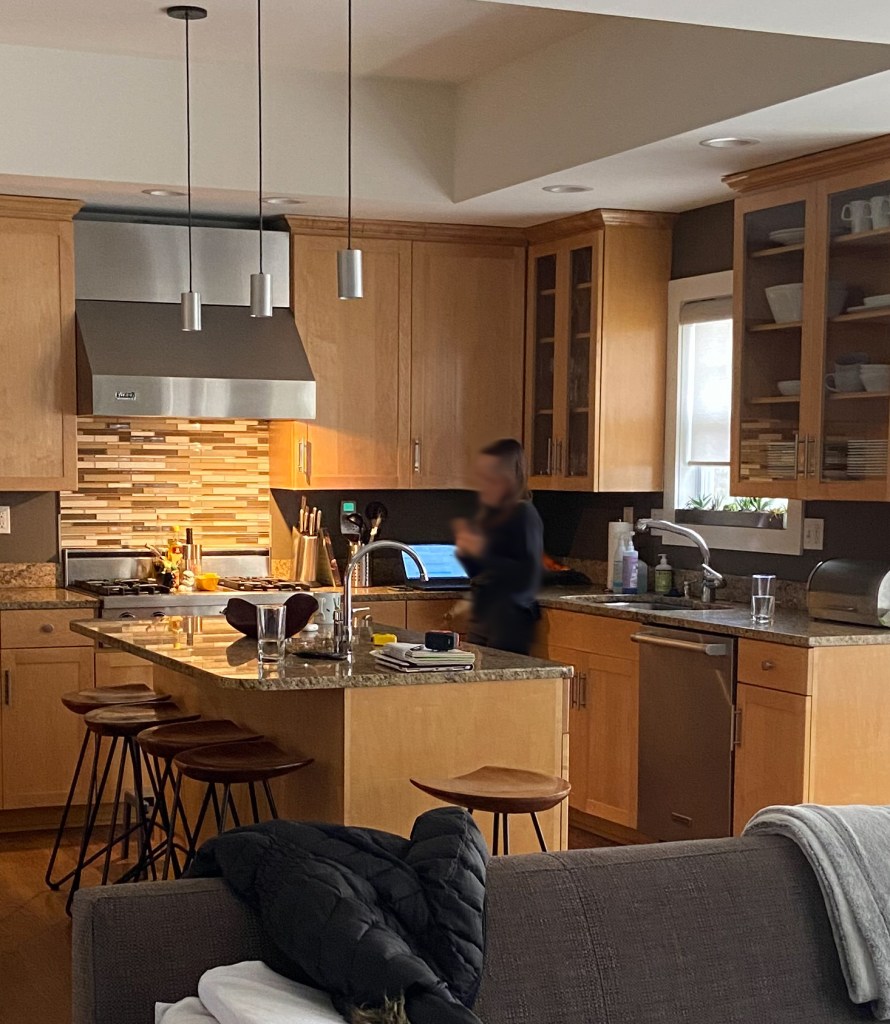
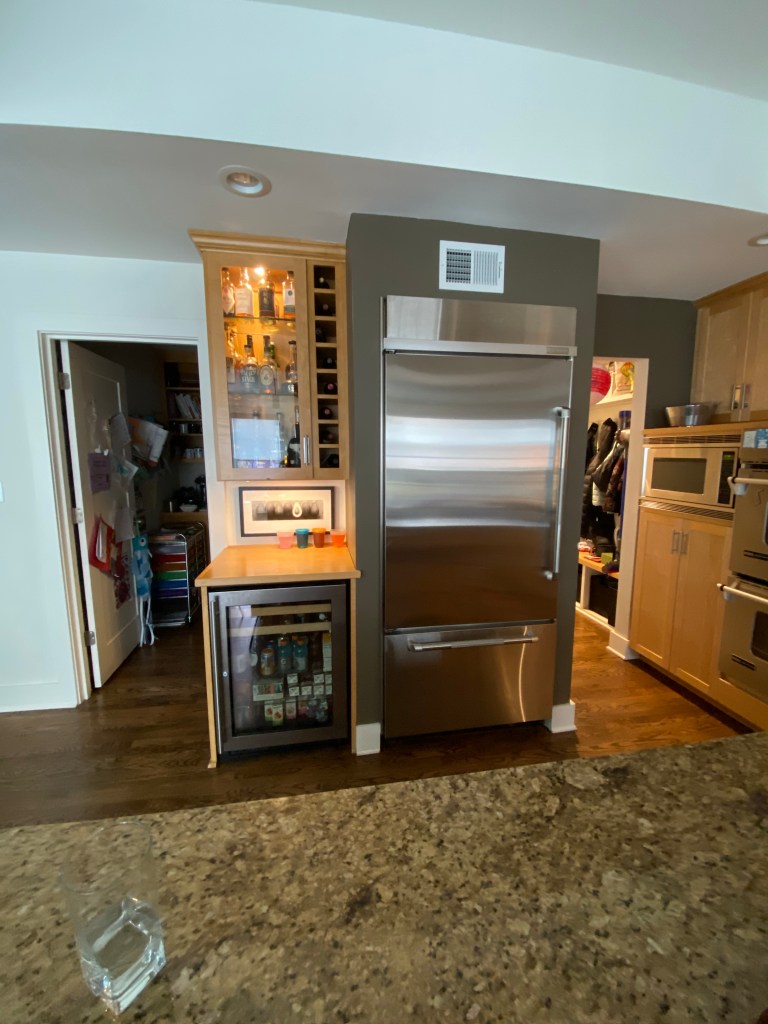
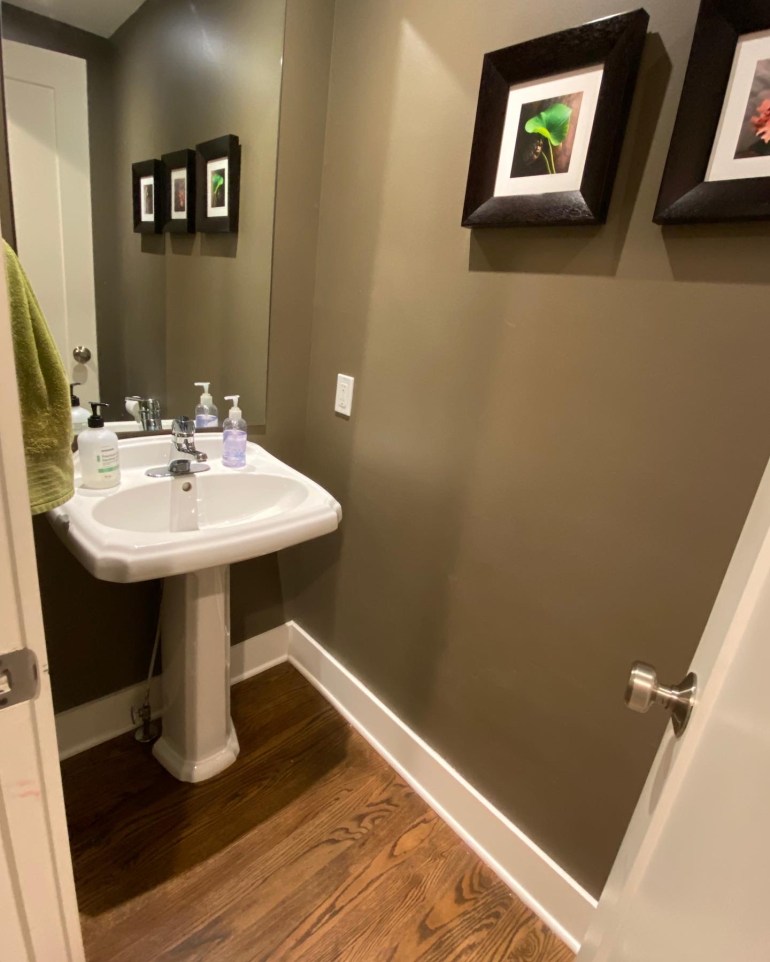
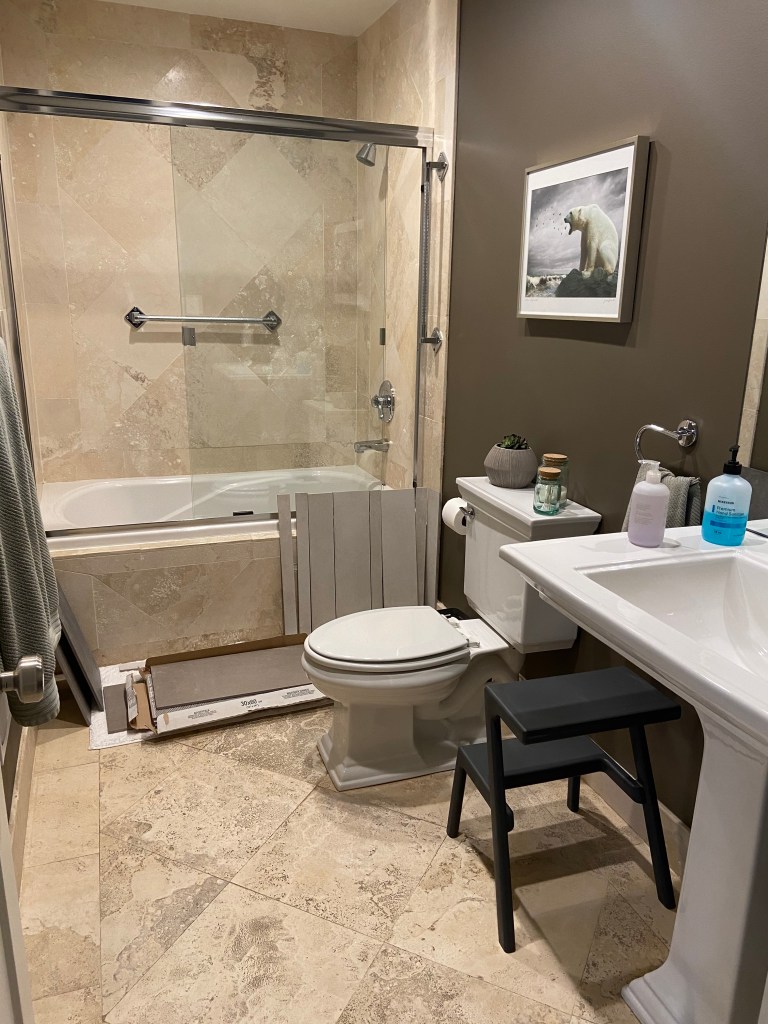
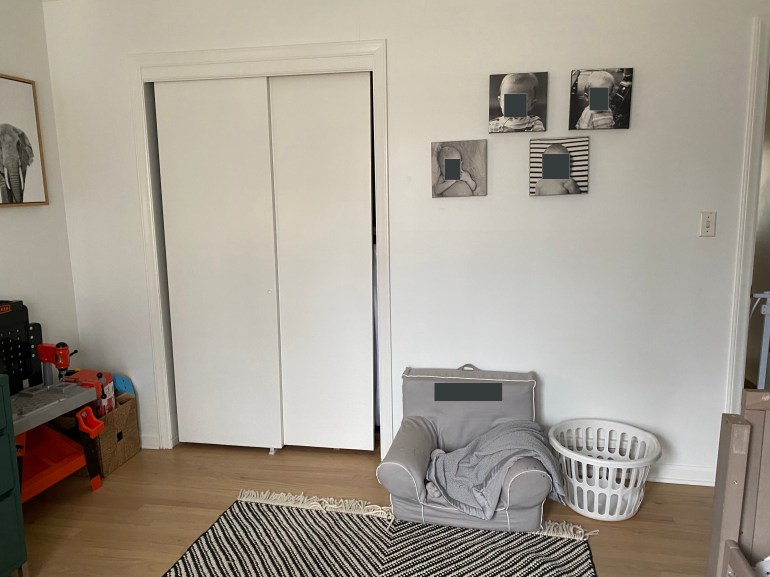
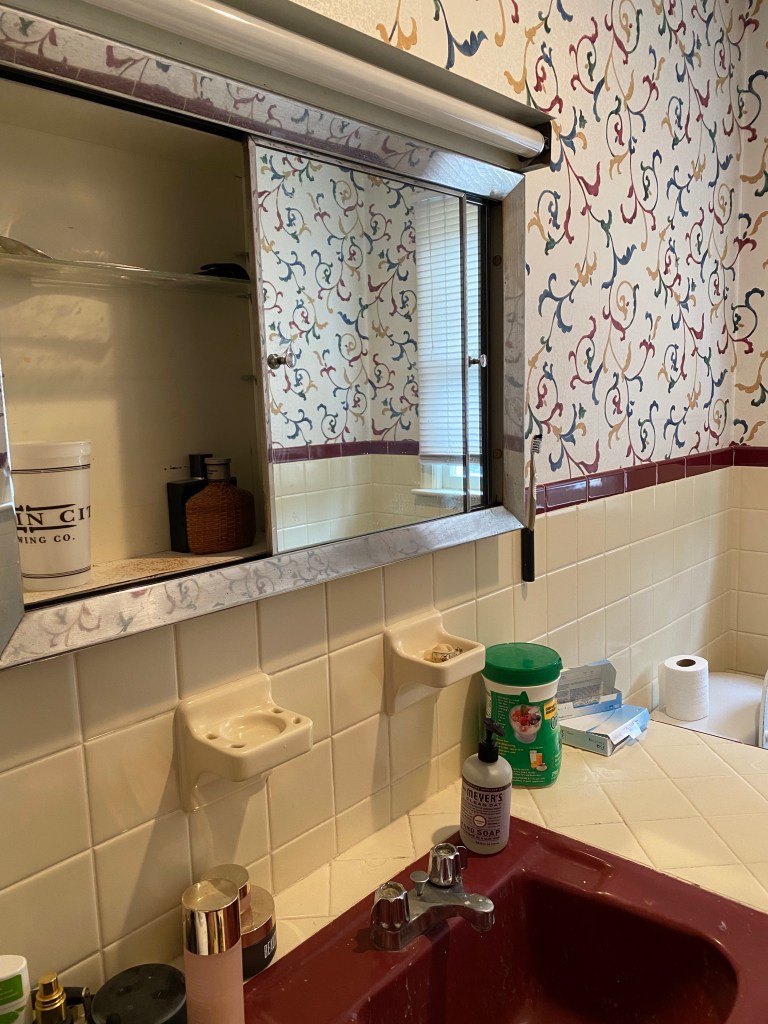
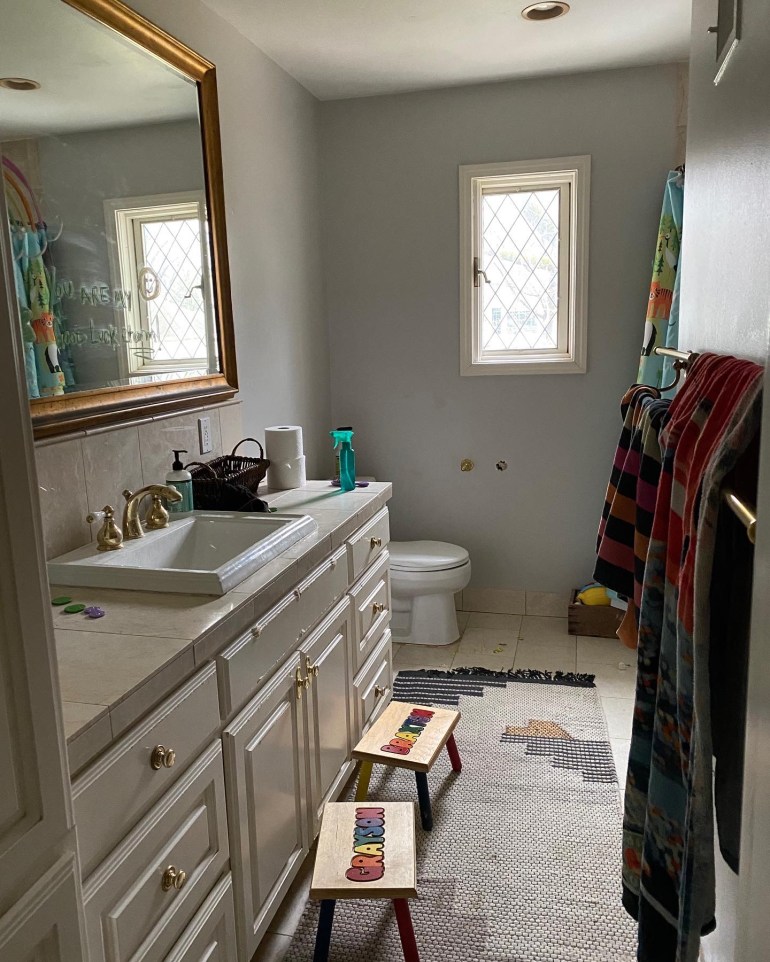
Here’s a few more pictures of where we started! I loved taking the challenge of this existing space and turning it into space that this family will use for many years. We were able to save money by working within the walls and not changing windows and recycling the wood floors. Ranch homes often provide a lot of square footage that just needs to be looked at differently.


It was so fun to see this entire project come to life. My clients were incredibly patient tackling it all during a pandemic! As any project, there were a few challenges but we made it work. The result is a beautiful, modern home that functions so much better for their family giving them private space and also room to entertain and live more comfortably. Their youngest has already claimed Mom’s new bath tub!
Thanks for following along here!
xo -Lindsay